

本文实例为大家分享了ASP.NET生成验证码的具体代码,供大家参考,具体内容如下
首先,添加一个一般处理程序

注释很详细了,有不懂的欢迎评论
using System;
using System.Collections.Generic;
using System.Drawing;
using System.Linq;
using System.Web;
using System.Web.SessionState;

namespace Project_Practice
{
 /// <summary>
 /// Handler1 的摘要说明
 /// </summary>
 public class Handler1 : IHttpHandler,IRequiresSessionState
 {

 public void ProcessRequest(HttpContext context)
 {
  //选取的颜色
  Color[] colors = { Color.White };
  //通过Bitmap构造Image
  Image img = new Bitmap(100, 60);
  //Graphics绘画Image
  Graphics graphics = Graphics.FromImage(img);

  Random random = new Random(DateTime.Now.Millisecond);
  //验证码的四位数
  int charNum1 = random.Next('0', '9' + 1);
  int charNum2 = random.Next('0', '9' + 1);
  int charNum3 = random.Next('0', '9' + 1);
  int charNum4 = random.Next('0', '9' + 1);
  //把生成的随机数变成字符串,通过char进行转换
  string validCode = string.Format($"{(char)charNum1}{(char)charNum2}{(char)charNum3}{(char)charNum4}");
  //放进Session进行存储,记得继承接口,否则疯狂报空指针
  context.Session["verification_Code"] = validCode;
  //字体的大小和类别
  Font font = new Font("宋体", 24);
  //随机的颜色
  Brush brush1 = new SolidBrush(colors[random.Next(0, colors.Length - 1)]);
  //DrawString的四个参数,第一个是要写的字符,第二个是字体,第三个是颜色,第四个是坐标x,y
  graphics.DrawString(((char)charNum1).ToString(), font, brush1, 7, -3);
  Brush brush2 = new SolidBrush(colors[random.Next(0, colors.Length - 1)]);
  graphics.DrawString(((char)charNum2).ToString(), font, brush2, 26, -9);
  Brush brush3 = new SolidBrush(colors[random.Next(0, colors.Length - 1)]);
  graphics.DrawString(((char)charNum3).ToString(), font, brush3, 50, 0);
  Brush brush4 = new SolidBrush(colors[random.Next(0, colors.Length - 1)]);
  graphics.DrawString(((char)charNum4).ToString(), font, brush4, 70, -7);
  //保存,格式
  context.Response.ContentType = "image/jpeg";
  img.Save(context.Response.OutputStream, System.Drawing.Imaging.ImageFormat.Jpeg);
  //释放资源
  graphics.Dispose();
  img.Dispose();
 }

 public bool IsReusable
 {
  get
  {
  return false;
  }
 }
 }
}
一个web窗体
<%@ Page Language="C#" AutoEventWireup="true" CodeBehind="verification_Code.aspx.cs" Inherits="Project_Practice.verification_Code" %>

<!DOCTYPE html>

<html xmlns="http://www.w3.org/1999/xhtml">
<head runat="server">
<meta http-equiv="Content-Type" content="text/html; charset=utf-8"/>
 <title></title>
</head>
<body>
 <form id="form1" runat="server">
 <div>
  <asp:Image ID="Image1" runat="server" ImageUrl="~/Handler1.ashx" />
 </div>
 </form>
</body>
</html>
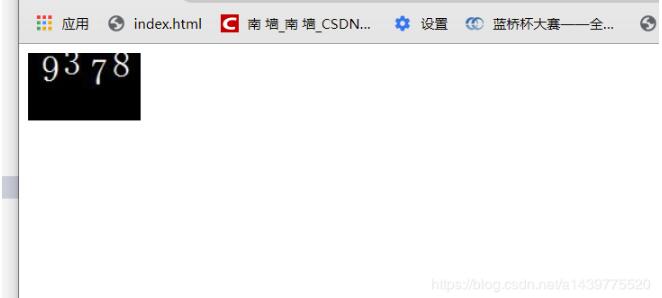
效果图
以上就是本文的全部内容,希望对大家的学习有所帮助,也希望大家多多支持站长技术。

近日国际权威调研机构Gartner发布了《2020全球公有云基础设施管理服务提供商魔力...
本文转载自微信公众号「Java中文社群」,作者磊哥。转载本文请联系Java中文社群...
近期知晓云的版本更新通知频率低于去年,但我们的产品经理和工程师一直在努力地...
mysql提供的模式匹配的其他类型是使用扩展正则表达式。 当你对这类模式进行匹配...
比较吃力的地方是drop到播放列表,查MSDN查了n久,还有WindowMediaPlayer6.x插件...
整理 | 郑丽媛 出品 | CSDNIDCSDNnews 作为在服务器端执行的脚本语言PHP 尤为适...
一名双非本科学生的逆袭计划 一、自我介绍 我是一名来至湖北双非本科的大一计算...
关于Java数组的那些事 数组是 相同数据类型 的元素的 有序 集合。 为什么说是有...
前2天群里发了张git历史图,如下: 根据提交历史,可以看出图中所有分支合并都采...
正则表达式(Regular Expression)是一种文本模式,包括普通字符(例如,a 到 z 之...

