

1.1 安装koa-generator
在终端输入:
$ npm install -g koa-generator
1.2 使用koa-generator生成koa2项目
$ koa2 HelloKoa2
成功创建项目后,进入项目目录,并执行npm install命令
$ cd HelloKoa2
$ npm install
1.3 启动项目
在终端输入:
$ npm start
项目启动后,默认端口号是3000,在浏览器中运行可以得到下图的效果说明运行成功。
2.1刚刚创建的文件使用webstorm打开
新建一个db目录
2.2查看Sequelize文档
使用npm安装Sequelize
npm install --save sequelize
你还必须手动为所选数据库安装驱动程序选择一个方法之一:
# 选择以下之一:
$ npm install --save pg pg-hstore # Postgres
$ npm install --save mysql2
$ npm install --save mariadb
$ npm install --save sqlite3
$ npm install --save tedious # Microsoft SQL Server
我这里下载得是MySQL2
2.3连接数据库
再刚刚创建得db文件加里面添加**config.js**
添加连接代码:
module.exports = {
 dbsMysql: 'mysql://root:123456@localhost:3306/new'
 //root是数据库管理员账号,‘123546'是密码 3306是端口号(MySQL默认是3306) school_admin是数据库名称

}
继续在db文件夹里面添加mysql.js
添加连接以及添加日记:
const Sequelize = require('sequelize');
const mysqlurl = require('./config').dbsMysql
const sequelize = new Sequelize(mysqlurl, {
 // 选择一种日志记录参数
 logging: console.log // 默认值,显示日志函数调用的第一个参数
});
// //每次启动server刷新数据库
//  (async ()=>{
//   await sequelize.sync({ force: true });
//  })()

module.exports = sequelize
3.1模型定义
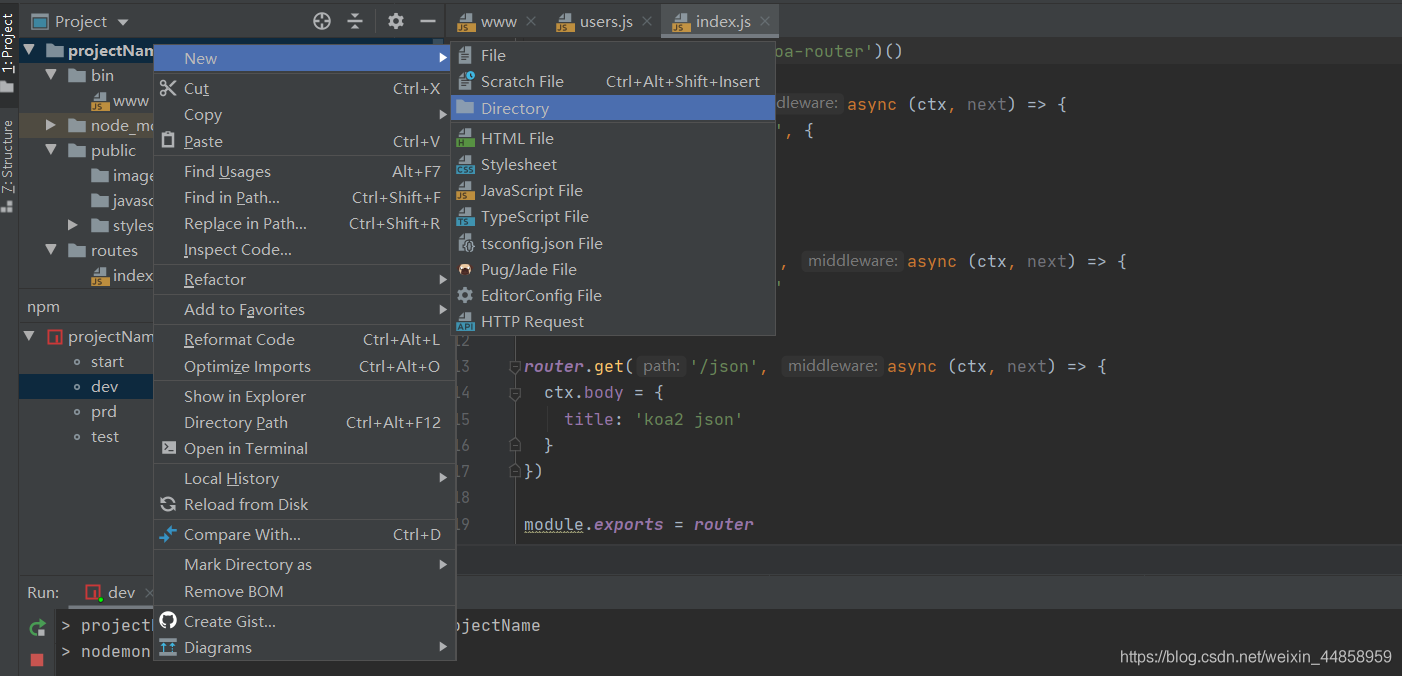
在db目录下添加models文件夹再添加一个new2.js
定义模型:
const { Sequelize, DataTypes, Model } = require('sequelize');
const sequelize = require('../mysql');

const new2 = sequelize.define('t_new2', {
  name: {
   type: DataTypes.STRING,
   allowNull: false
  },
 },
 {
  // 这是其他模型参数
  freezeTableName: true
 });
// 定义的模型是类本身
module.exports= new2
4.1创建new2路由
在routes文件夹中添加new2.js
//引入kob得routes模块
const router = require('koa-router')()
//定义模型为刚刚创建得new2.js
let Model = require("../db/models/new2");
//正常来说启动端口为http://localhost:3000 添加/new2就可以进入new2路由
router.prefix('/new1')
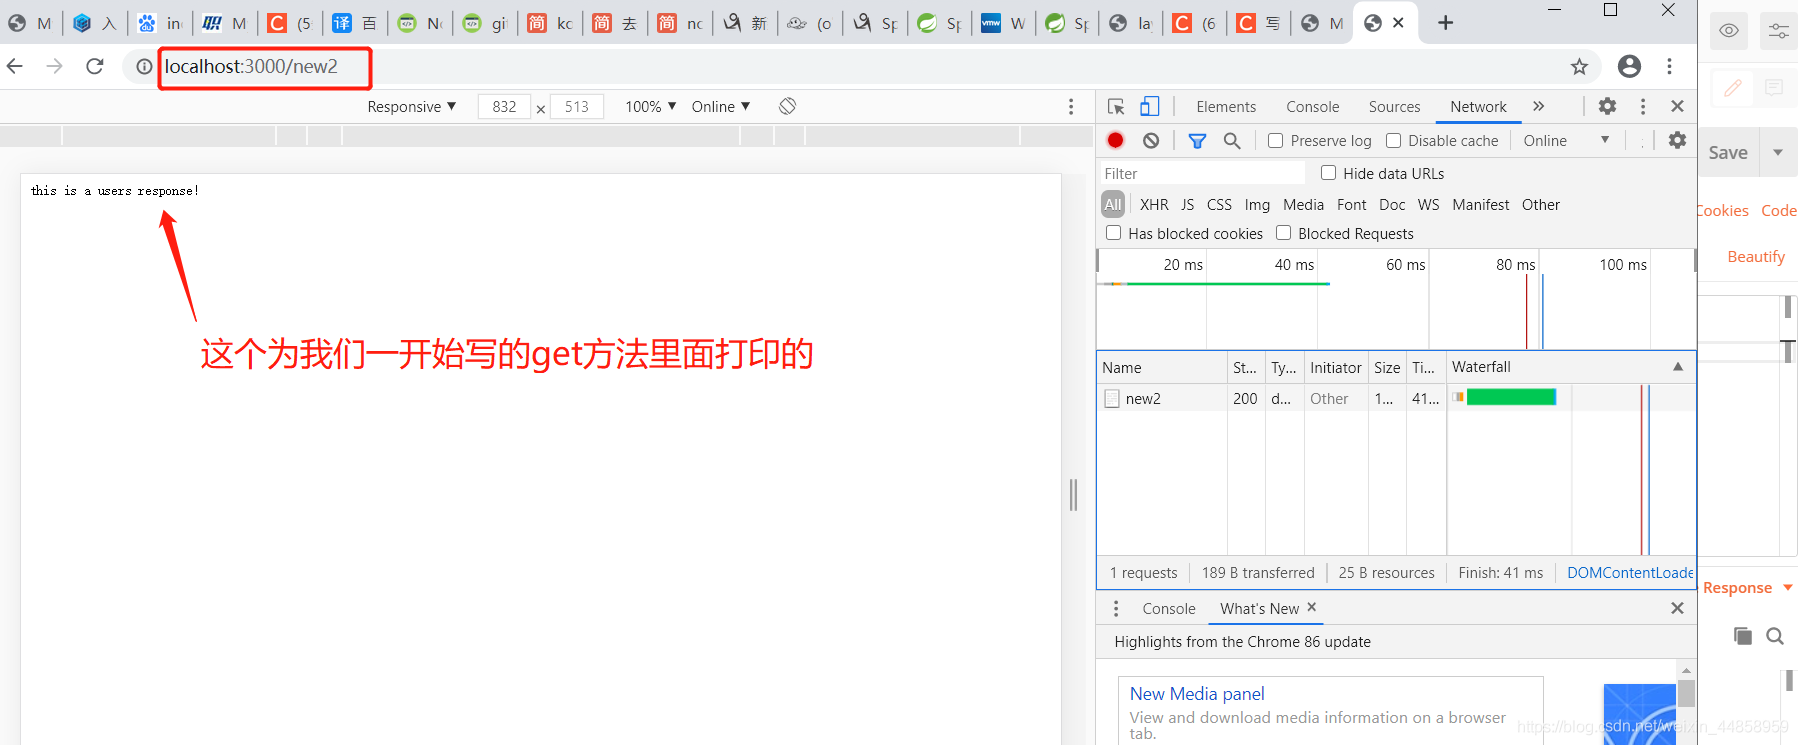
// 进入new2路由以后可以打印this is a users response!
router.get('/', function (ctx, next) {
ctx.body = 'this is a users response!'
})
//设置增加add接口
router.post('/add', async function (ctx, next) {
console.log(ctx.request.body)
const new2 = await Model.create(ctx.request.body);
ctx.body = {
code:200,
data:new2
}
})
//设置查询find接口
router.post('/find', async function (ctx, next) {
const new2 =await Model.findAll({include: []})
console.log(1111)
ctx.body = {
code: 200,
data: new2
}
})
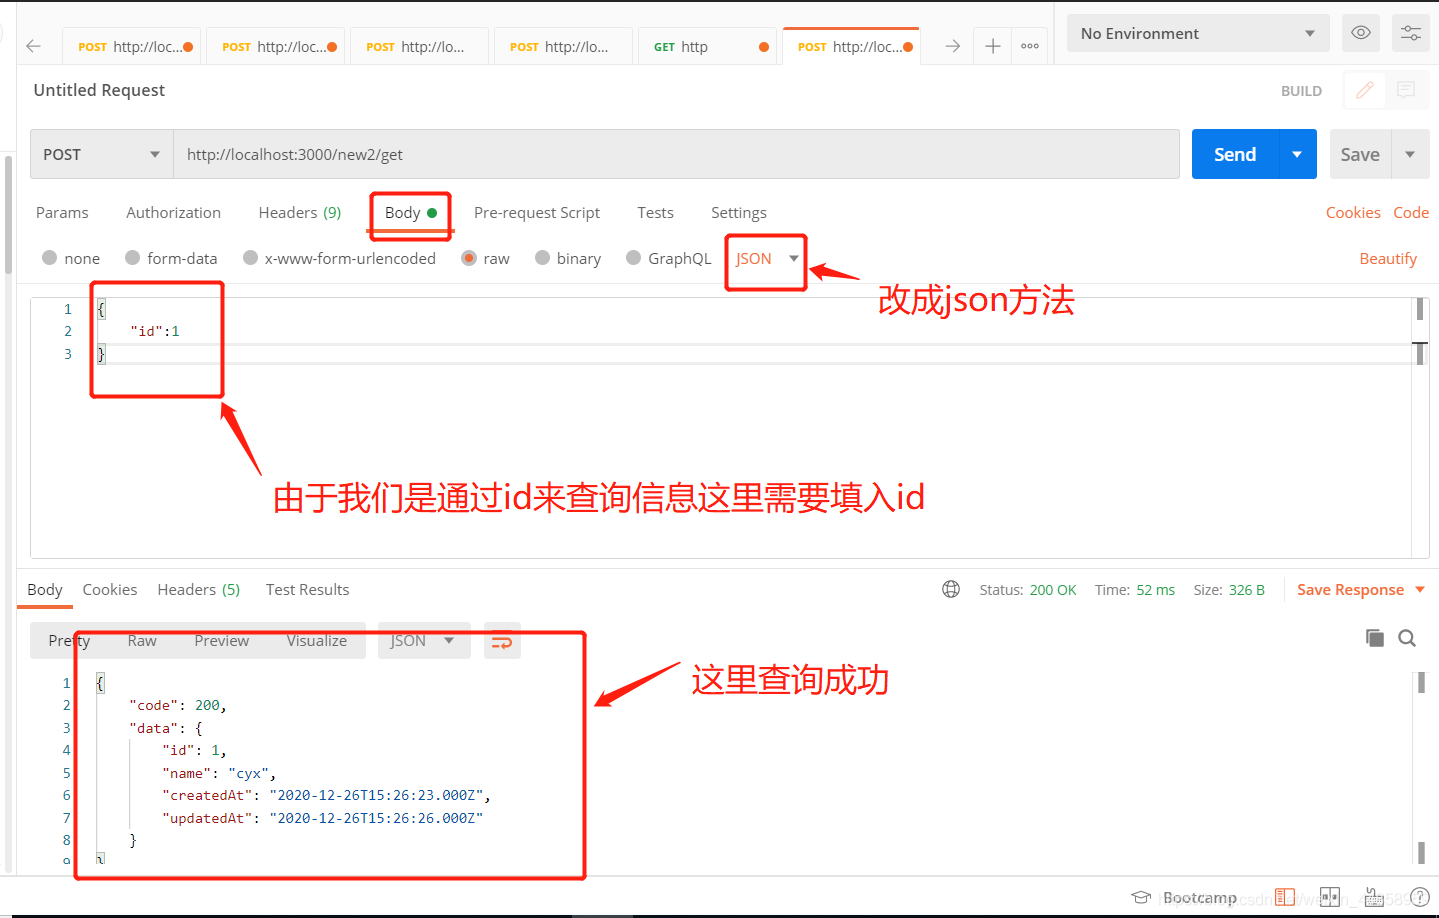
//设置通过id得到所需信息的get接口
router.post('/get', async function (ctx, next) {
// let users = await User.
// find({})
console.log(ctx.request.body)
let new2 = await Model.findOne({
// attributes: ['name', 'where']
where: {
id: ctx.request.body.id
}
});
ctx.body = {
code:200,
data:new2
}
})
//设置修改update接口
router.post('/update', async function (ctx, next) {
console.log(ctx.request.body)
// let pbj = await Model.update({ _id: ctx.request.body._id }, ctx.request.body);
let new2 = await Model.update(ctx.request.body, {
where: {
id: ctx.request.body.id
}
});
ctx.body = new2
})
//设置删除delete接口
router.post('/delete', async function (ctx, next) {
console.log(ctx.request.body)
// 删除所有名为 "Jane" 的人
await Model.destroy({
where: { id: ctx.request.body.id }
});
ctx.body = 'shibai '
})
// //每次启动server刷新数据库
// (async ()=>{
// await sequelize.sync({ force: true });
// })()
module.exports = router
4.2在app.js里面添加路由
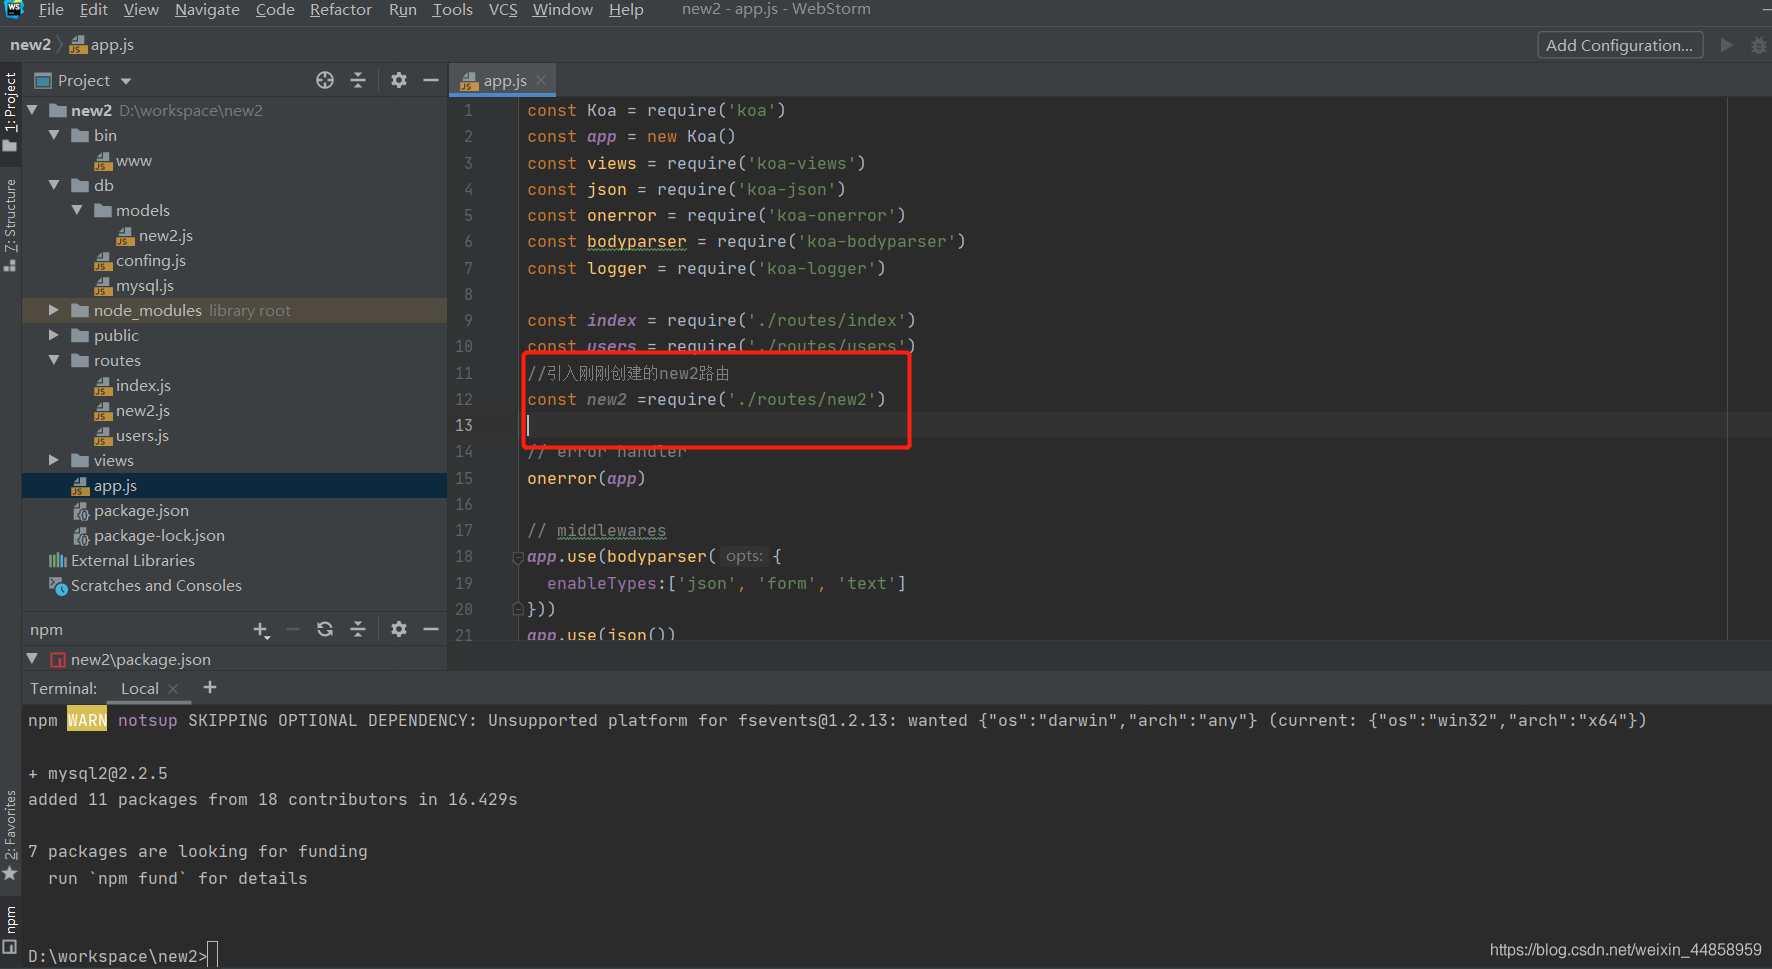
//引入刚刚创建的new2路由
const new2 =require('./routes/new2')
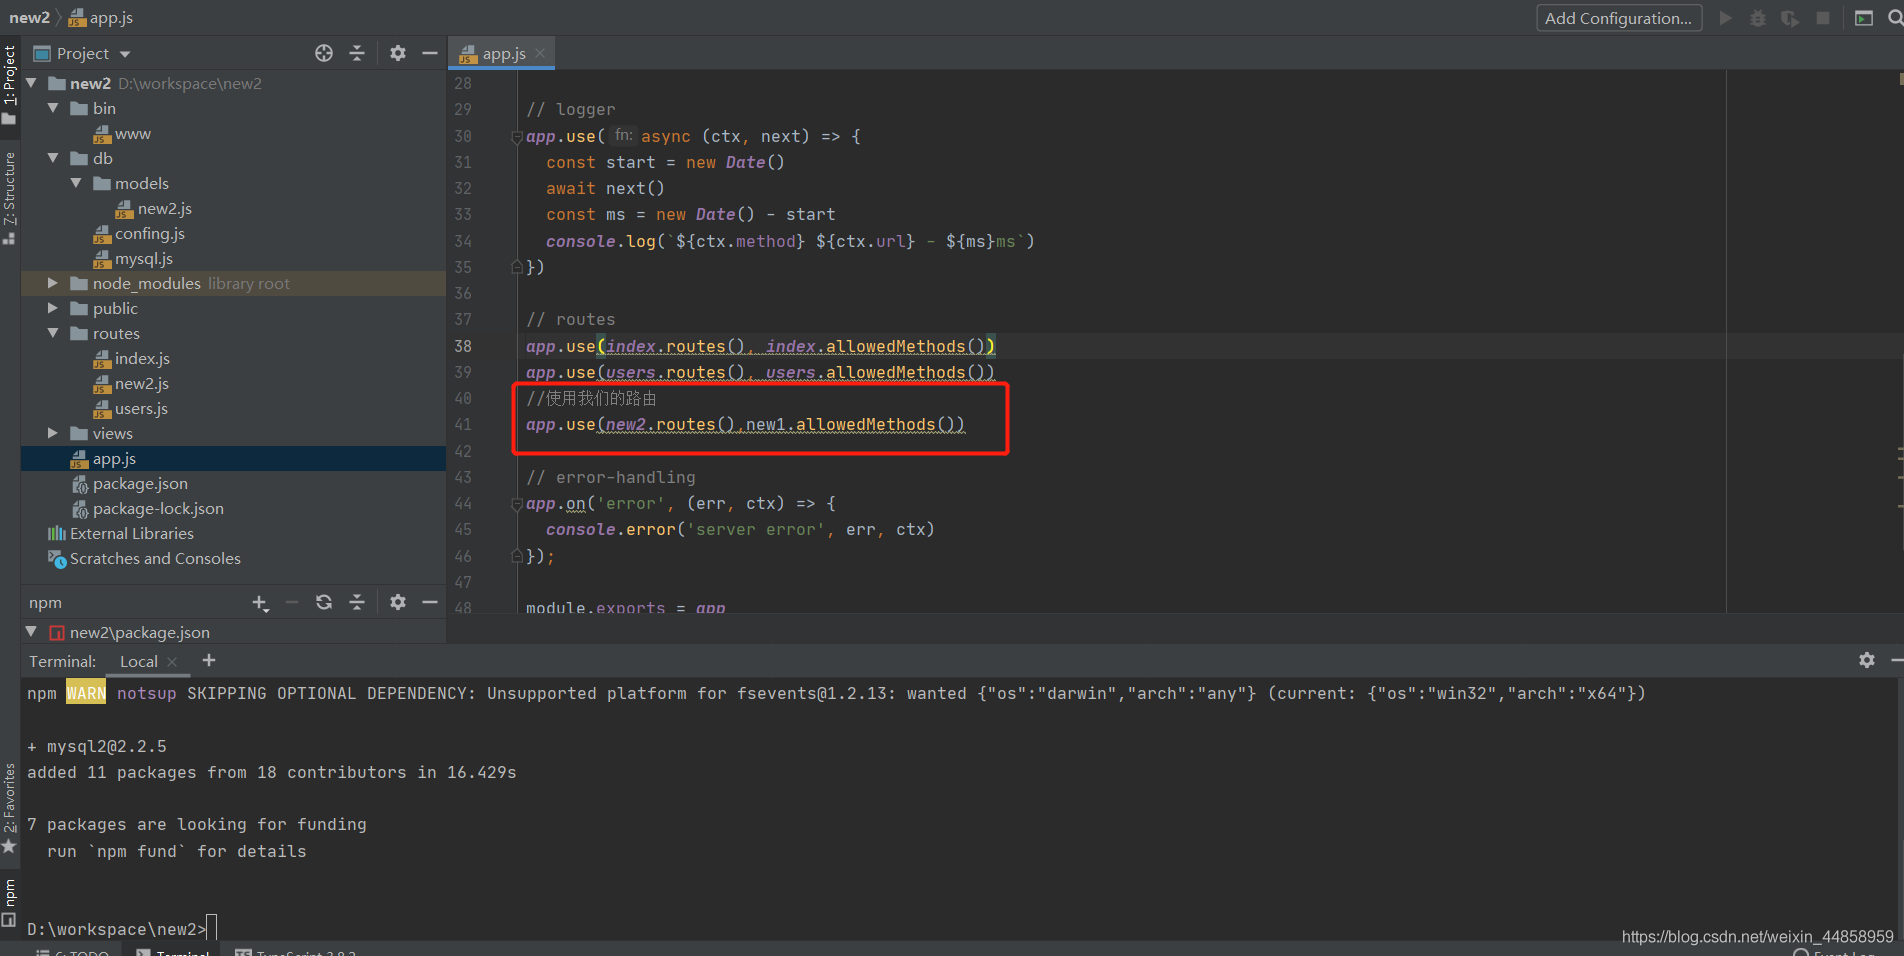
//使用我们的路由
app.use(new2.routes(),new2.allowedMethods())
4.3启动项目
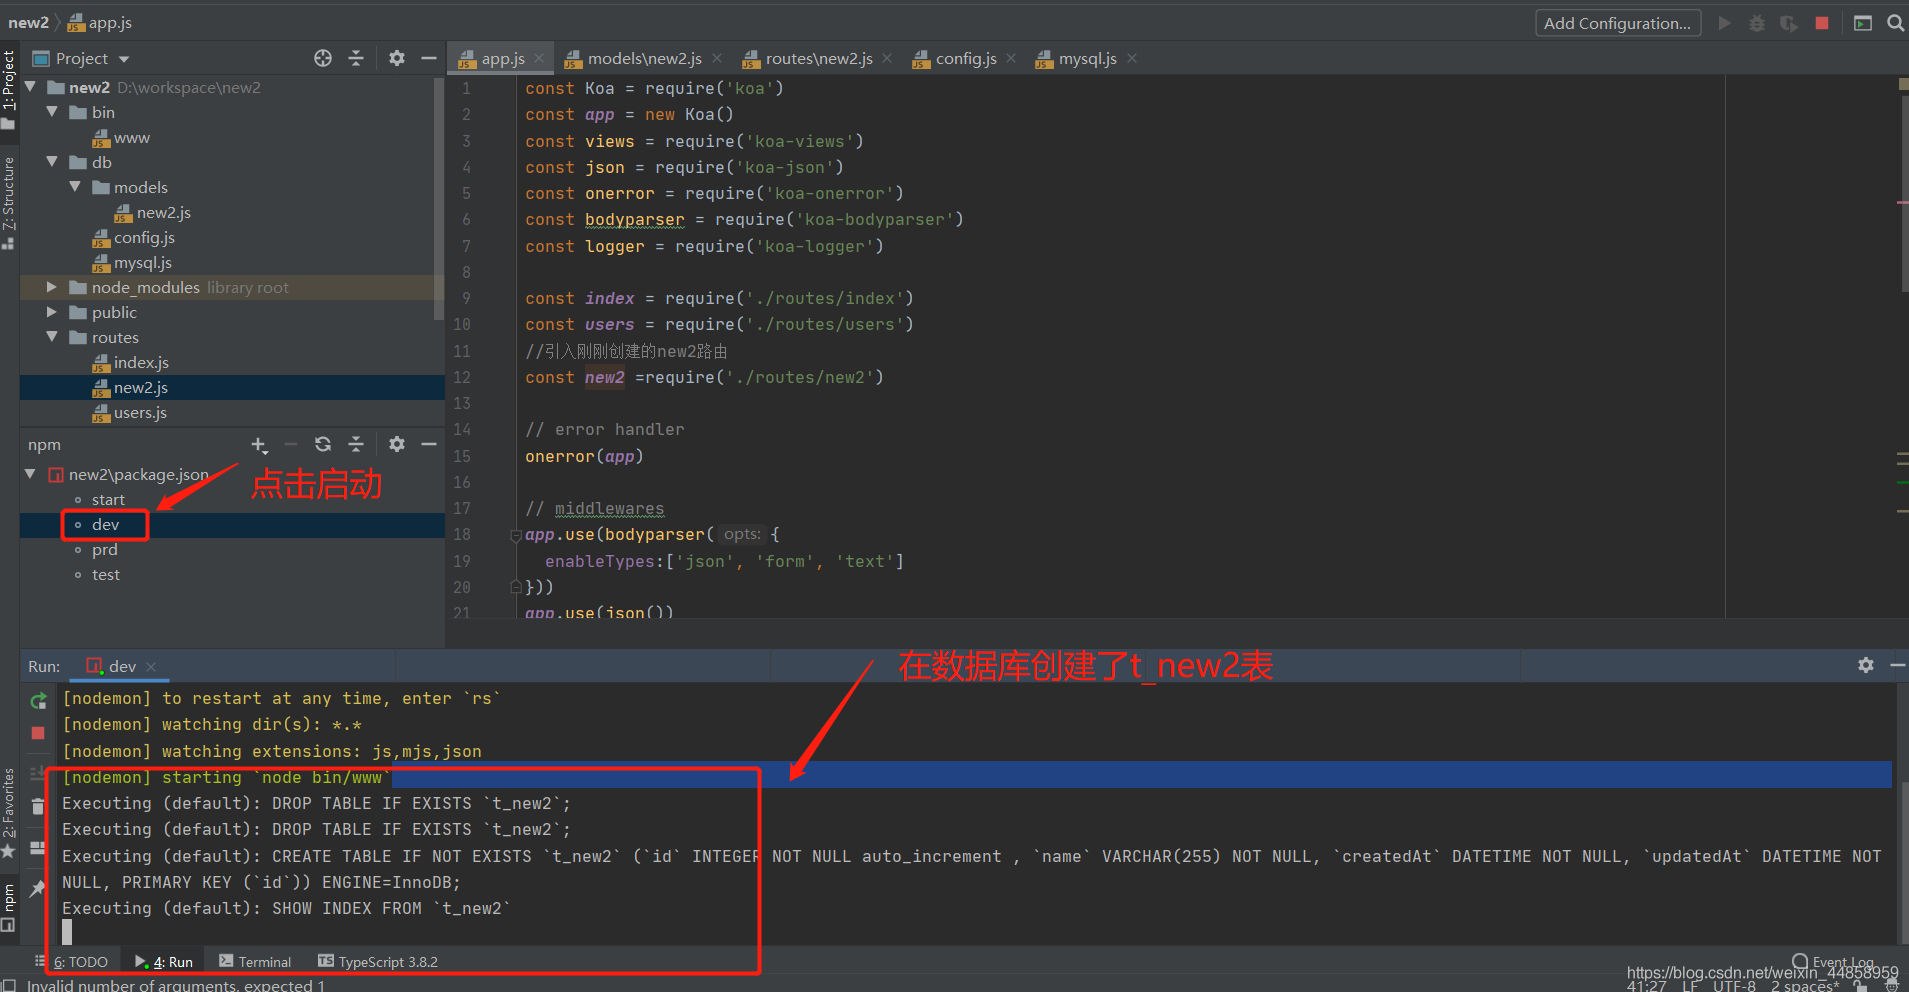
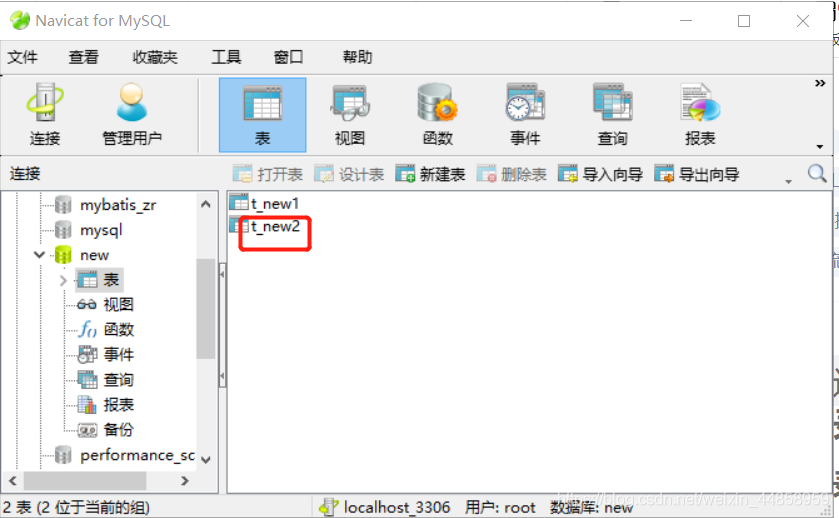
在数据库中查看
5.测试
5.1使用浏览器查看
输入url:http://localhost:3000/new2
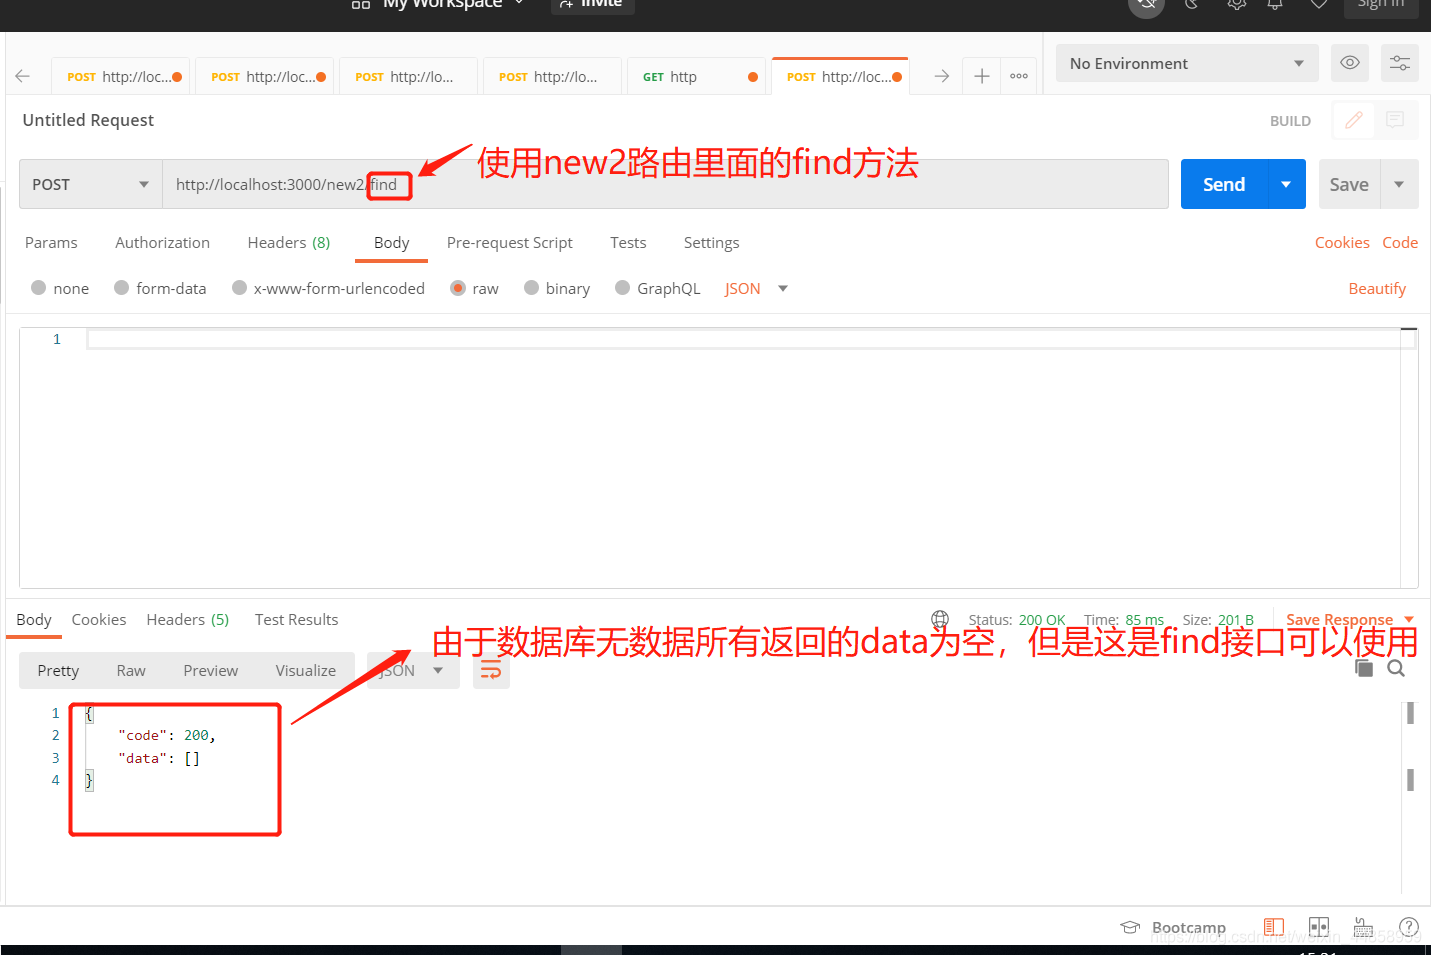
5.2.使用postman测试接口
测试find接口(因为我们写的find方法使用的post方法所以记得将get换成post):
http://localhost:3000/new2/find
测试get接口
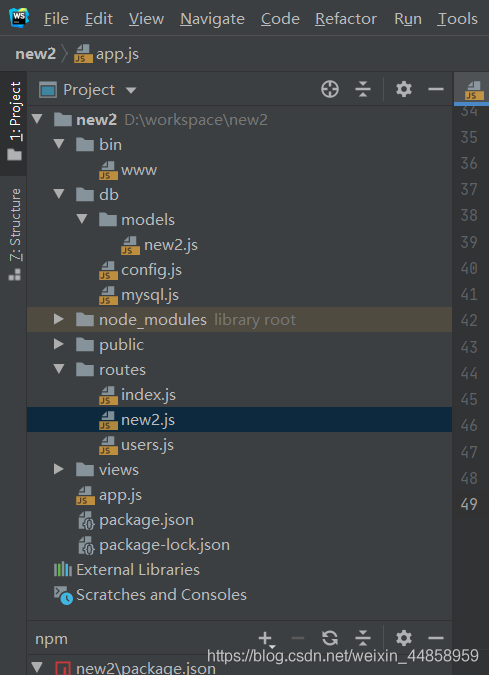
展示一下最后的目录
到此这篇关于node.js通过Sequelize 连接MySQL的文章就介绍到这了,更多相关node.js连接MySQL内容请搜索站长技术以前的文章或继续浏览下面的相关文章希望大家以后多多支持站长技术!

一、导读 本文主要介绍Redhat7.6系统安装oracle 12201版本RAC的一些坑以及避坑方...
Linux 发行版的爱好者们又有全新的 Linux 可以体验了,日前一款名为 TeLOS 的 Li...
如果你想对使用手机,平板电脑和辅助技术的用户隐藏某些内容,而只对键盘用户显...
一. RabbitMQ 简介 MQ全称为Message Queue, 消息队列(MQ)是一种应用程序对应用...
Eval 计算一个表达式的值并返回结果。 语法:[result = ]eval_r(expression_r) e...
最近在和团队规划OKR目标的时候,我们讨论了很多问题,我先抛砖引玉,列举了一些...
今天给大家分享四个在实际开发中,比较实用的SQL Server脚本函数,希望对大家能...
ajax传送json格式数据,关键是指定contentType,data要是json格式 如果是restful...
本文分享自华为云社区《 架构可视化支撑系统演进探索 》原文作者无名小溪。 随着...
Afrikaans:af Albanian:sq Basque:eu Belarusian:be Bulgarian:bg Catalan:ca Ch...

