

本文给大家介绍vue实现登录、注册、退出、跳转功能,具体代码如下所示:
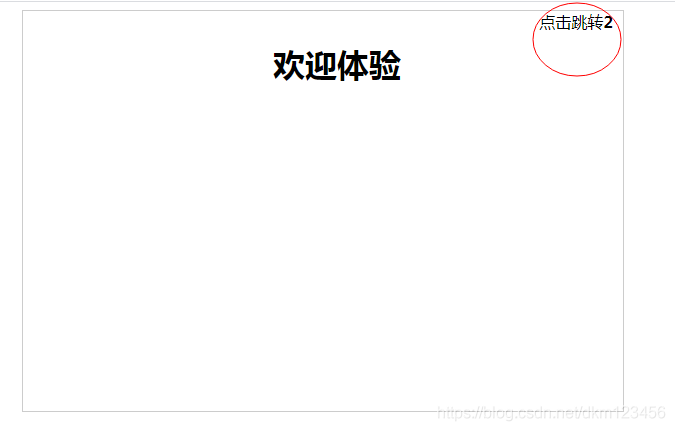
效果图1:
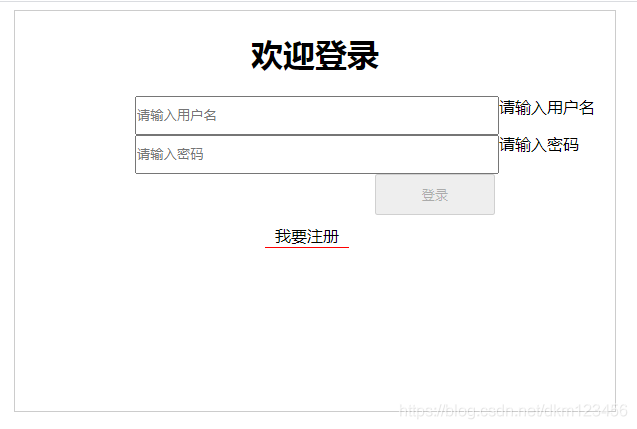
效果图2:
效果图3:

效果图4:

完整实例:
<!DOCTYPE html>
<html>
  <head>
    <meta charset="GBK">
    <title></title>
    <style>
    ul li {

      margin: 0;
      padding: 0;
      list-style: none;
    }
    #app {
      width: 600px;
      height: 400px;
      margin: 0 auto;
      border: 1px solid #ccc;
    }
    .title{
    	text-align:center;
    }
    .tab-tilte{
      width: 99%;
    }
    .tab-tilte li{
      float: left;
      width: 31%;
      padding: 10px 0;
      text-align: center;
      background-color:#f4f4f4;
      cursor: pointer;
    }
   /* 点击对应的标题添加对应的背景颜色 */
    .tab-tilte .active{
      background-color: #09f;
      color: #fff;
    }
    .tab-content div{
      float: left;
      width: 25%;
      line-height: 100px;
      text-align: center;
    }
    .sider_icon{
				display: inline-block;
				width:36px;
				height:40px;
				line-height:36px;
				font-size:20px;
				text-align:center;
				color:#fff;
				background: url(../images/bubble.png) 0 0 no-repeat;
				top:-20px;
			}
    	.contentli{
    		float: left;
	      padding: 10px 0;
	      text-align: center;
    	}
    	.input{
    		float: left;
    		width: 60%;
    		margin-left:20%;
	      padding: 10px 0;
	      align:center;
    	}
    	.btn{
    		float: left;
	      width: 20%;
	      margin-left:60%;
	      padding: 10px 1px;
	      text-align: center;
    	}
    	.guanggao{
    		float:right;
    		padding-right:10px;
    		cursor:pointer;
    	}
    	#bottomDiv{
    		float: left;
	      margin-left:40%;
	      padding: 10px 10px;
	      text-align: center;
    	}
    	#bottomDiv a{
    			 padding: 1px 10px;
    			 cursor:pointer;
    			 border-bottom:1px solid red;
    	}
    </style>
  </head>
  <body>
  	<div id="app" >
  		<div v-show='page==="advert"'>
  			<span class='guanggao' @click='goLogin'>点击跳转<b>{{n}}</b></span>

  			<div id='bottomDiv'>
	  			<h1 class='title'>欢迎体验</h1>
	  		</div>
  		</div>
  		<div v-show='page==="login"'>
	  		<div>
	  			<h1 class='title'>欢迎登录</h1>
	  			<div>
		  			<input type="text" v-model='name' class="input" placeholder='请输入用户名'>
		  			<p v-show='!name'>请输入用户名</p>
	  			</div>
	  			<div>
	  			<input type="text" v-model='pwd' class="input" placeholder='请输入密码'>
	  			<p v-show='!pwd'>请输入密码</p>
	  			</div>
	  			<button @click="add" :disabled="!name||!pwd" class='btn'>登录</button>
	  		</div>
	  		<div id='bottomDiv'>
	  			<a @click="goRegister">我要注册</a>
	  		</div>
  		</div>
  		<div v-show='page==="register"'>
  			<div>
	  			<h1 class='title'>注册界面,没写,哈哈</h1>
  			</div>
  			<div id='bottomDiv'>
	  			<a @click="goLogin">我要登录</a>
	  		</div>
  		</div>
  		<div v-show='page==="suc"'>
  			<div>
	  			<h1 class='title'>登录成功</h1>
  			</div>
  			<div id='bottomDiv'>
	  			<a @click="exit">退出登录</a>
	  		</div>
  		</div>
		</div>
  </body>
  <script src="vue.js"></script>
 	<script>
     new Vue({
      el:'#app',
      data:{
      	page:'advert',//默认是倒计时的显示广告 login/register 分别表示登录、注册
      	n:5,
      	intervalId:'',
      	name:'',
      	pwd:''
      },
      methods:{
      	autoPlay:function(){
      		//自动进行到计时
      		this.intervalId=setInterval(()=>{
      			if(this.n===0){//当倒计时为0的时候,跳转登录界面,并清除定时器
	      			this.page='login';//设置page为login
	      			clearInterval(this.intervalId);
	      			return ;
	      		}
	      		this.n--;
      		},1000);
      	},
      	goLogin:function(){//点击到登录界面
      		this.page='login';//设置page为login
      		clearInterval(this.intervalId);
      	},
      	add:function(){
      		//控制跳转到成功
      		this.page='suc';
      	},
      	goRegister:function(){
      		//控制跳转到注册
      		this.page='register';
      		this.name=this.pwd='';
      	},
      	exit:function(){
      		//控制跳转到登录
      		this.page='login';
      		this.name=this.pwd='';
      	}
      },
      computed:{

      },
      mounted:function(){
      	//生命周期 mounted就执行 倒计时函数
      	this.autoPlay();
      }
    })
 	</script>

</html>
到此这篇关于vue实现登录、注册、退出、跳转等功能的文章就介绍到这了,更多相关vue实现登录、注册、退出、跳转内容请搜索站长技术以前的文章或继续浏览下面的相关文章希望大家以后多多支持站长技术!

目录 文件描述符句柄 系统调用接口 open() write() lseek() read() dup2() 重定...
一、简介 很多时候我们都需要用到一些验证的方法,有时候需要用正则表达式校验数...
于是在上WC之际决定要改造一下编辑器.不过我一般动手之前会google一下,这样往往...
本文实例为大家分享了微信小程序选择图片控件的具体代码,供大家参考,具体内容...
AJAX (Asynchronous JavaScript and XML,异步的 JavaScript 和 XML)。它不是...
本文实例讲述了php+js实现的拖动滑块验证码验证表单操作。分享给大家供大家参考...
导读: 正则表达式是处理字符串类型的"核武器",不仅速度快,而且功能强大。本文...
Javascript中的遍历循环 1.for循环 对于数值索引的数组来说,可以使用标准的for...
Mysql一键部署脚本 一.一键部署Mysql 1.将安装Mysql所需软件包传到/opt目录下 可...
本文实例讲述了fiddler抓包小技巧之自动保存抓包数据的实现方法。分享给大家供大...

