Nest + Sharp 实现了一个 gif 压缩工具,帮我省不少钱
Nest + Sharp 实现了一个 gif 压缩工具,帮我省不少钱

不知道大家有没有场景会需要 GIF 压缩,我是经常会用到。
因为公众号的图片最大支持 10M,但是我录制出来的 GIF 经常超过 10M。
比如这样一个图片:
在编辑器上传会提示超过 10 M 了:
这时候就需要 GIF 压缩,不然文章发不了。
于是我在百度搜素 GIF 压缩,就找到了一个工具:

它确实能解决我的问题:

但是要花钱:
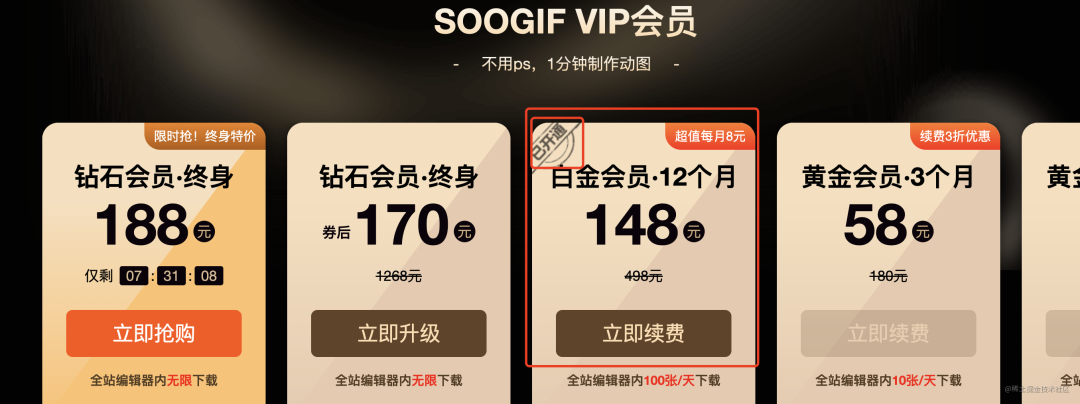
一年 148 呢,对一个小工具来说还是挺贵的。
但没办法,这对我是刚需,总不能不发文章了吧。
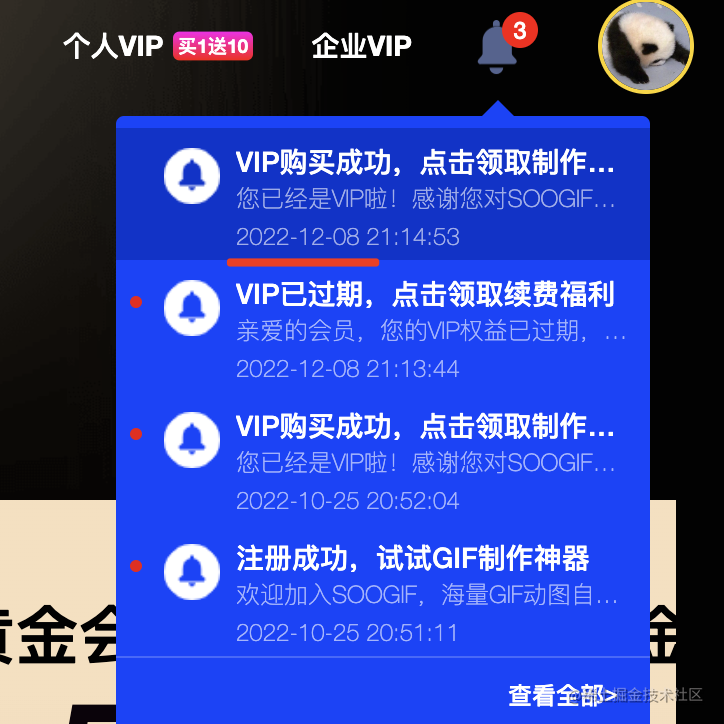
于是去年年底我就开了一年的会员:
但最近发现有 npm 包可以做这个,没必要买这种网站的会员。。。
当时我的心情是这样的:
这个 npm 包就是 sharp,它是用来处理各种图片的:
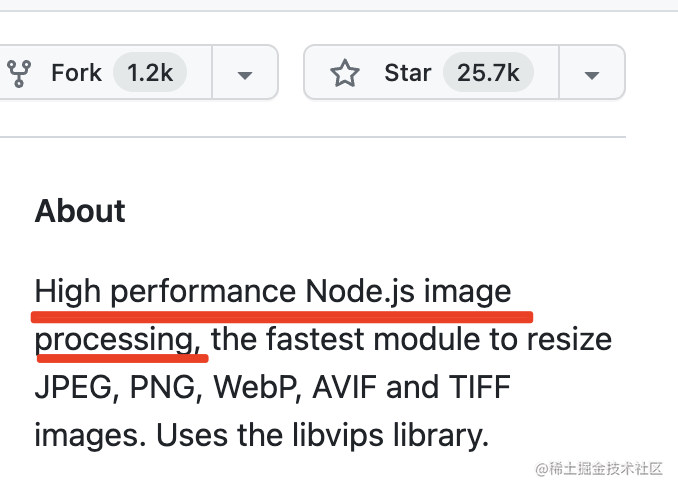
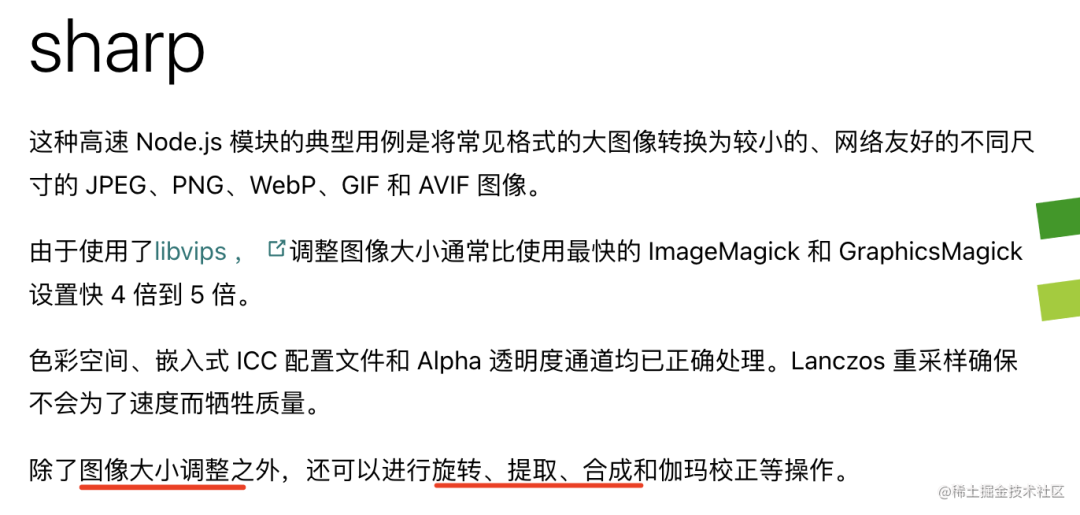
它可以用来调整图片的大小,对图片做旋转、颜色调整、合成图片等。
这些功能我用不到,我就关心它的 gif 压缩功能。
看了下文档,大概这样用:
const sharp = require('sharp');

sharp('1.image.gif', {
    animated: true,
    limitInputPixels: false
}).gif({
    compressionLevel: 9,
    colours: 10
}).toFile('2.image.gif')
我们先试试看:
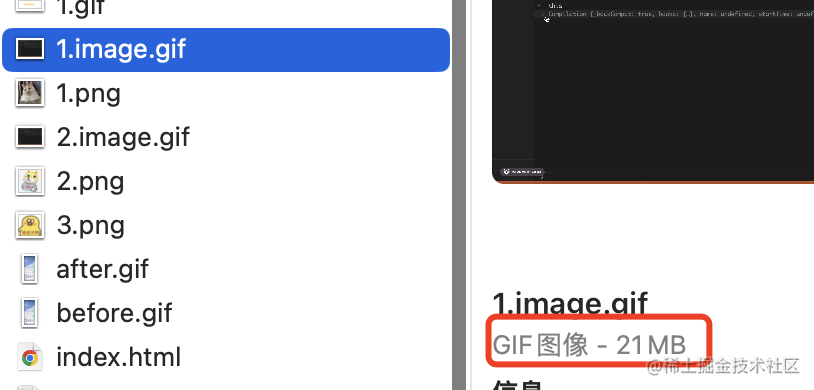
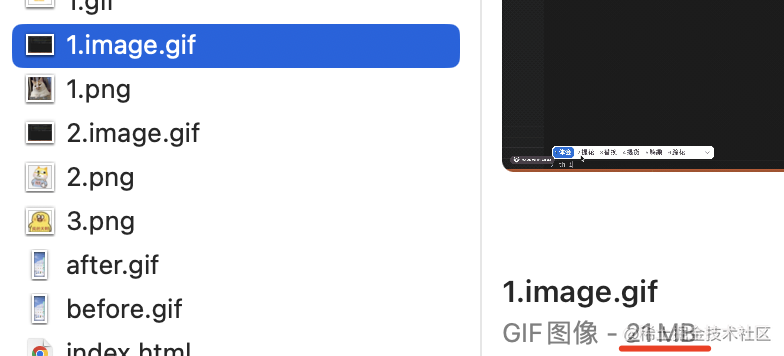
node 执行这个文件,可以看到产生了 2.image.gif,只有 2.7 M
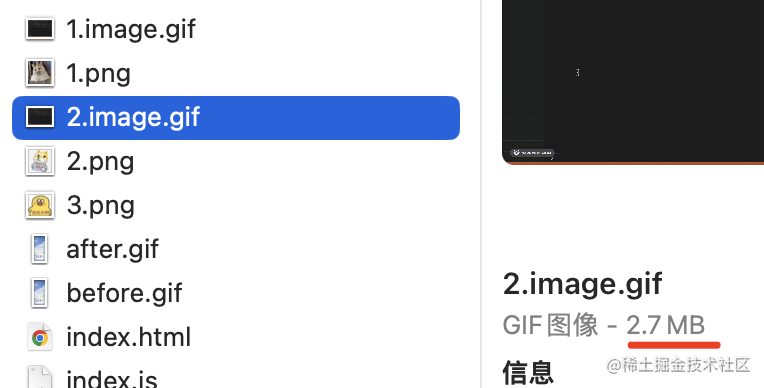
要知道之前的 1.image.gif 可是有 21M 啊:
然后打开它看看:

没啥问题。
回过头来,我们再来看看这段代码:

animated 设为 true 是读取所有的帧,不然默认只会读取 gif 的第一帧。
limitInputPixels 设为 false 是不限制大小,默认太大的图片是会报错的。
然后是输出参数:

compressionLevel 是压缩级别,数字越大图片压缩程度越高,默认是 6

colours 是颜色的数量,默认是 256。
一般色彩不丰富的图片,可以把 colours 设置的小一点。
当把 colours 设置为 2,图片就变成这样了:
图片也更小了一些:

具体怎么设置压缩级别和颜色数量,还是看需求。
总之,我们完全可以用 sharp 来自己做 gif 压缩,没必要买这种工具网站的会员。。。
不过体验上还是网页更好一点,我们也来写个这种网页:
用 create-react-app 创建个项目:
npx create-react-app gif-compression-frontend

进入项目目录,安装 antd:
npm install --save antd
修改下 App.js
import { DatePicker } from 'antd';

function App() {
  return (
    <div>
      <DatePicker/>
    </div>
  );
}

export default App;
然后把开发服务跑起来:
npm run start
浏览器访问下:
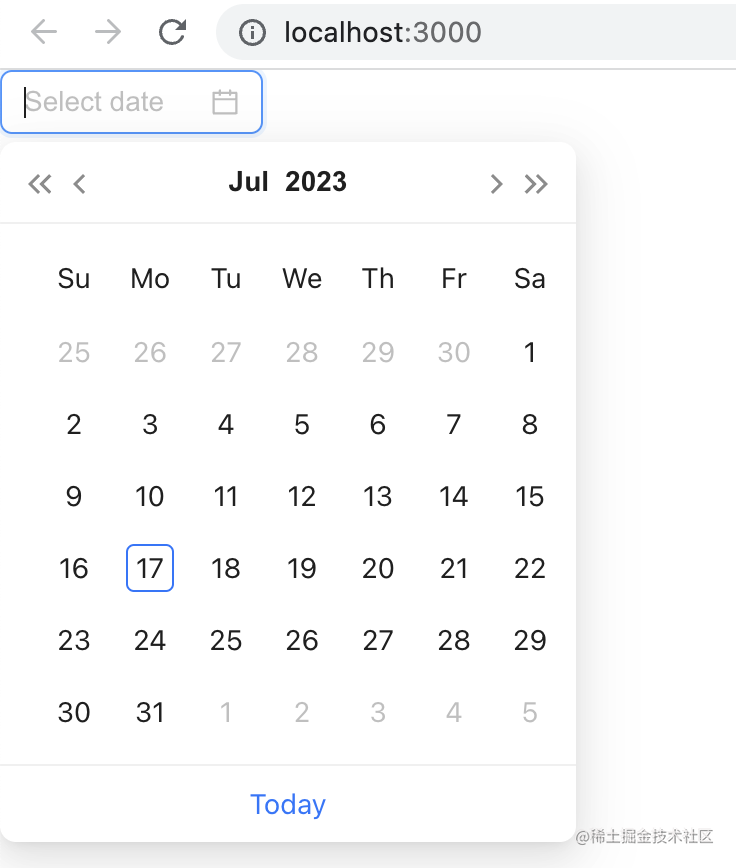
antd 引入成功了。
然后我们来写下上传文件的 UI:
import React from 'react';
import { InboxOutlined } from '@ant-design/icons';
import { message, Upload } from 'antd';

const { Dragger } = Upload;

const props = {
  name: 'file',
  action: 'http://localhost:3005',
  onChange(info) {
    const { status } = info.file;
    if (status === 'done') {
      message.success(`${info.file.name} 文件上传成功`);
    } else if (status === 'error') {
      message.error(`${info.file.name} 文件上传失败`);
    }
  }
};

const App = () => (
  <Dragger {...props}>
    <p className="ant-upload-drag-icon">
      <InboxOutlined />
    </p>
    <p className="ant-upload-text">点击或拖拽文件到这个区域来上传</p>
  </Dragger>
);

export default App;
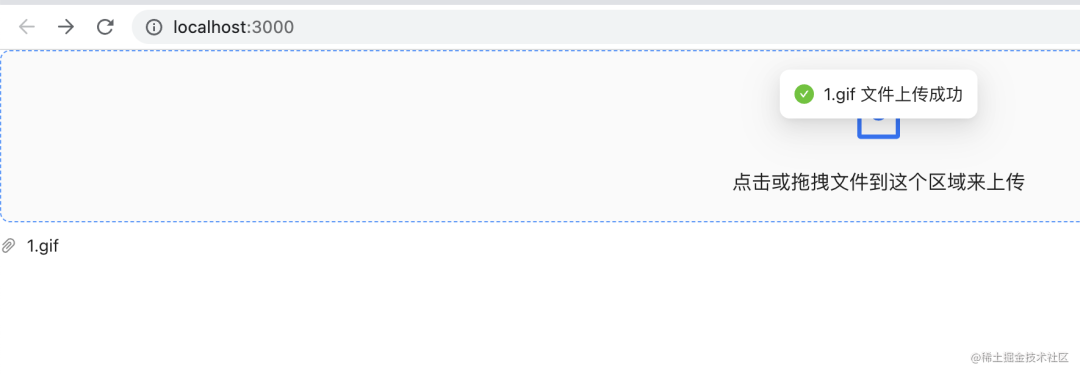
大概是这样的:

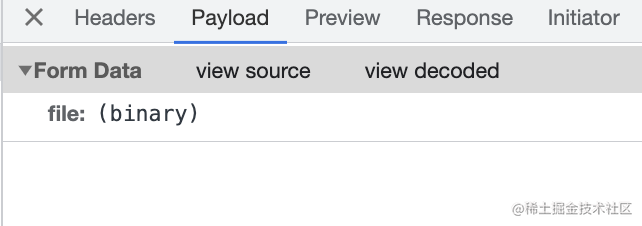
antd 会 post 方式请求 action 对应的接口,带上上传的文件:
我们再用 nest 写个后端服务接收下:
npx nest new gif-compression-backend
创建个 nest 项目:

修改 main.ts,启用跨域支持,并修改启动端口为 3005

把它跑起来:
npm run start:dev
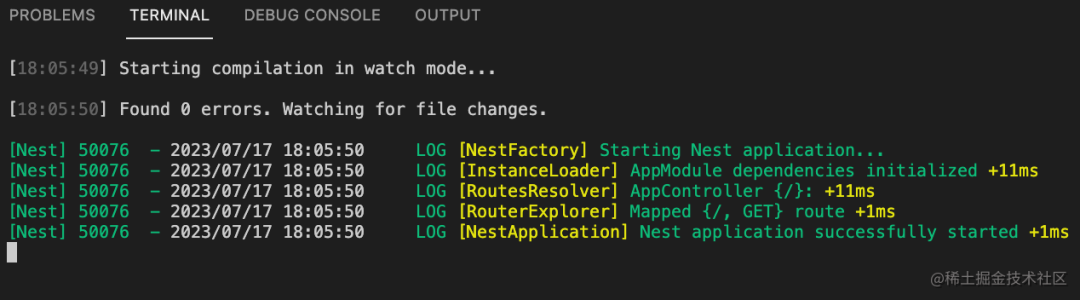
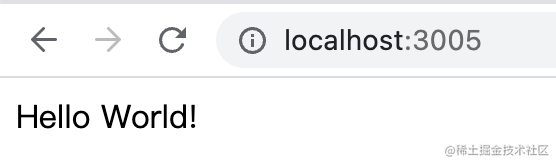
浏览器访问 http://localhost:3005 可以看到 hello world,说明 nest 服务跑成功了:
然后我们来添加下文章上传的接口:
安装需要的 ts 类型的包:
npm install -D @types/multer
在 AppController 里添加这样一个路由:
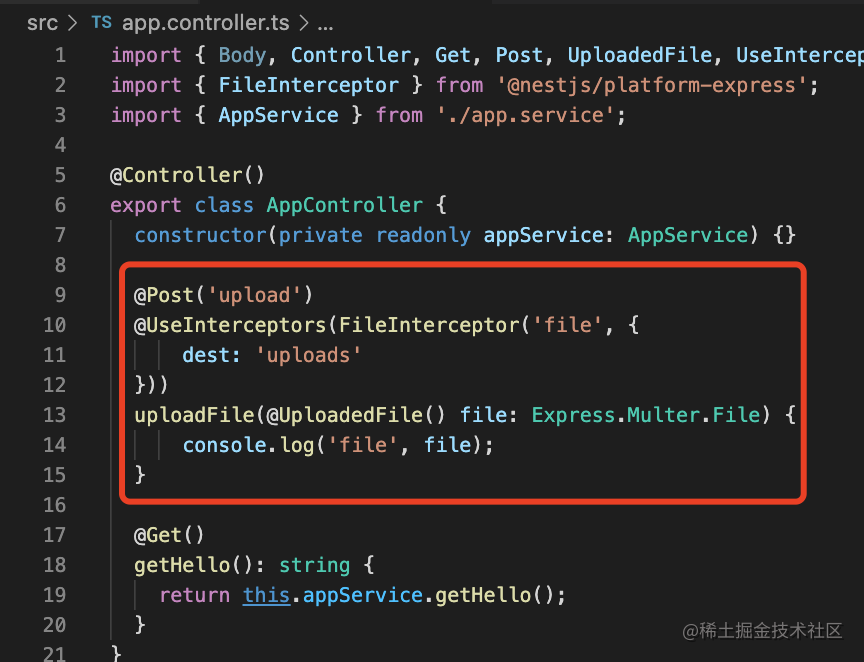
@Post('upload')
@UseInterceptors(FileInterceptor('file', {
  dest: 'uploads'
}))
uploadFile(@UploadedFile() file: Express.Multer.File) {
  console.log('file', file);
}
提取file内容,保存到dest目录下。然后我们改下前端代码的上传接口:

测试下上传:
提示文件上传成功了,然后在服务端控制台也打印了文件信息,并且在 uploads 目录下可以看到这个文件:
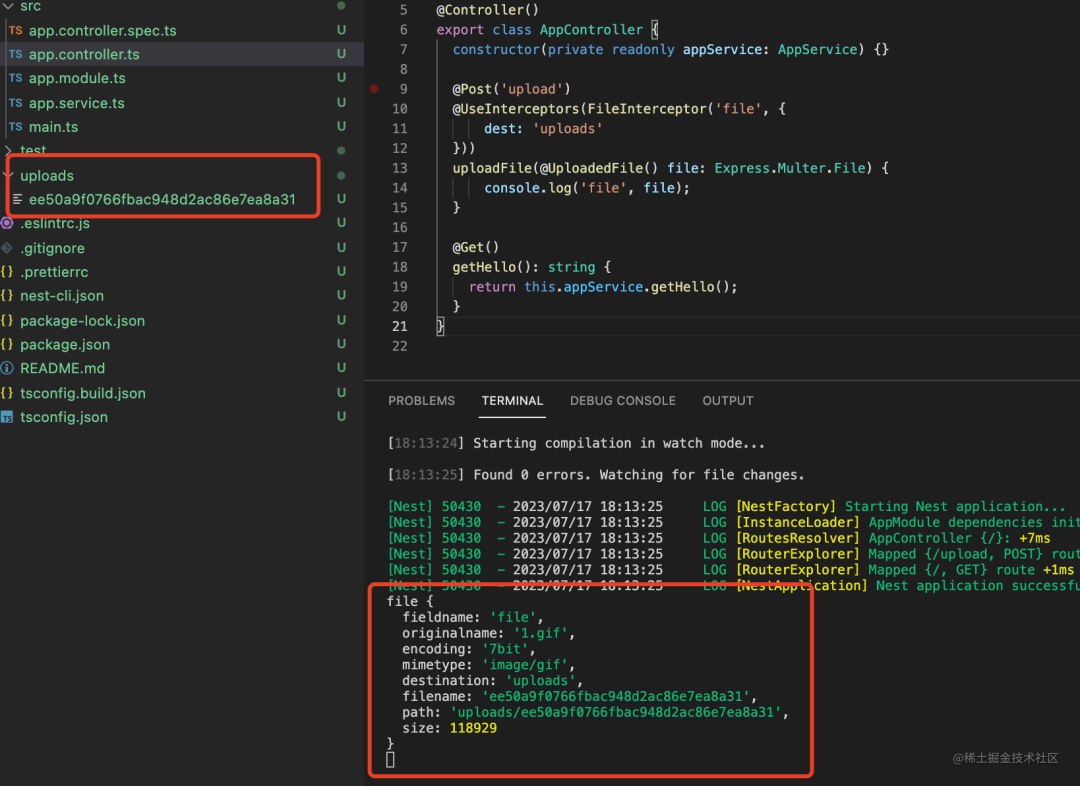
这些文件在浏览器打开,可以看到就是上传的 gif:
然后我们把文件路径返回就好了:

现在上传文件成功之后就可以拿到这个文件在服务端的路径了:

然后我们再实现下压缩,在 AppController 增加一个接口:
@Get('compression')
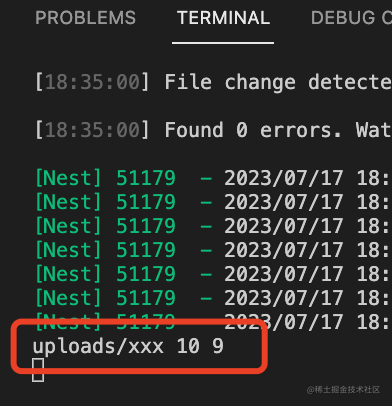
compression(@Query('path') filePath: string, @Query('color', ParseIntPipe) color:number, @Query('level', ParseIntPipe) level: number) {
console.log(filePath, color, level);
if(!existsSync(filePath)) {
throw new BadRequestException('文件不存在');
}
return 'success';
}
接收 path、color、level 的 query 参数,分别是文件路径、颜色数量、压缩级别的意思。
其中 color 和 level 要使用 ParseIntPipe 转成 int 类型。
测试下:
访问 http://localhost:3005/compression?path=uploads/xxx&color=10&level=9
提示文件不存在:

服务端接收到了传过来的参数:
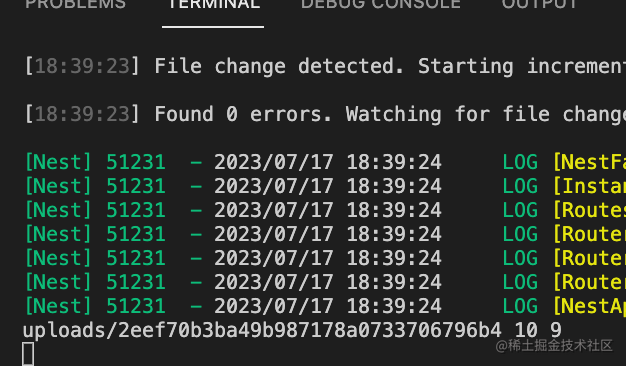
然后换一个真实存在的路径,返回 success:

说明服务端找到了这个路径的文件:
接下来安装 sharp 来实现压缩:
npm install --save sharp
修改下 compression 方法:
调用 sharp 来压缩 gif 图片,并注入 response 对象来返回文件下载响应:

@Get('compression')
async compression(
    @Query('path') filePath: string,
    @Query('color', ParseIntPipe) color:number,
    @Query('level', ParseIntPipe) level: number,
    @Res() res: Response
) {

    if(!existsSync(filePath)) {
      throw new BadRequestException('文件不存在');
    }

    const sharp = require('sharp');

    const data = await sharp(filePath, {
        animated: true,
        limitInputPixels: false
    }).gif({
        compressionLevel: level,
        colours: color
    }).toBuffer();

    res.set('Content-Disposition', `attachment; filename="dest.gif"`);

    res.send(data);
}
测试下:

访问这个接口,带上文件路径和压缩的参数,会返回压缩后的文件:
然后我们在前端页面上加一个表单来填参数,然后访问这个接口压缩文件:
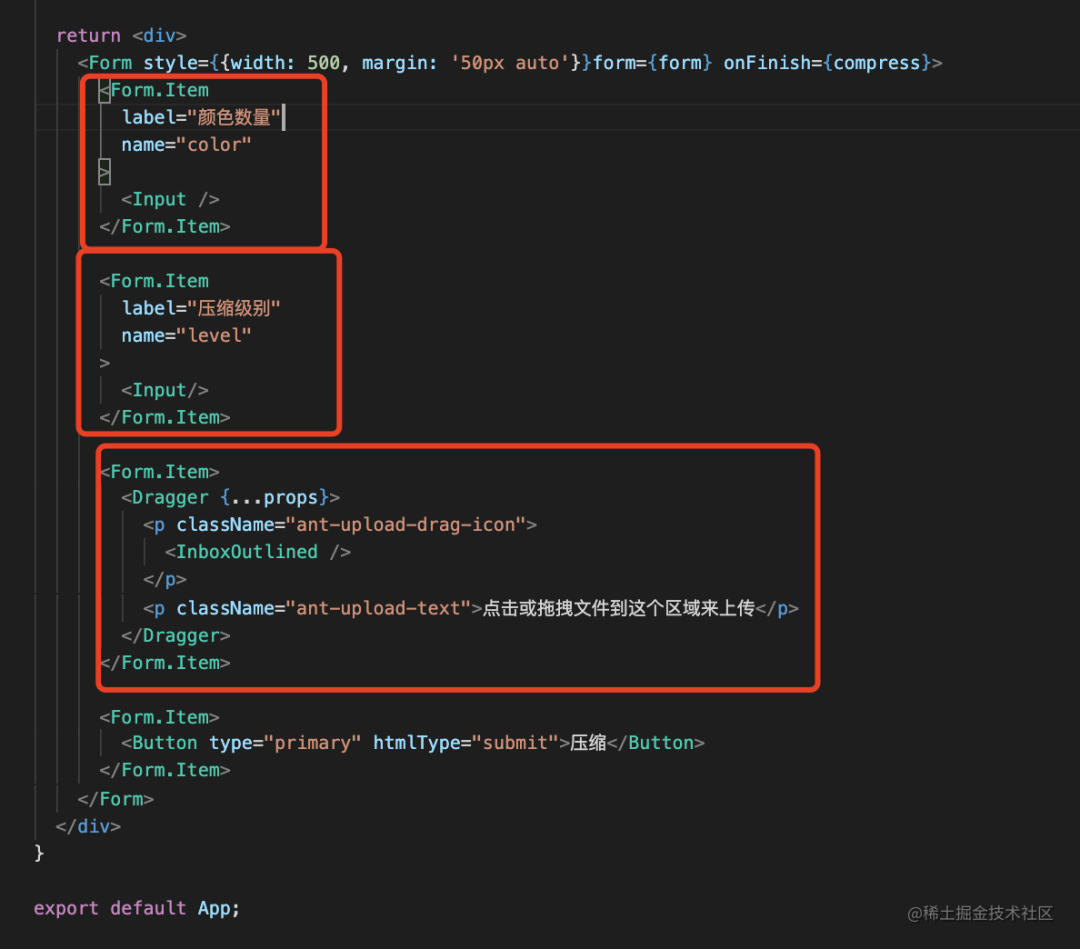
代码如下:
import React, { useState } from 'react';
import { InboxOutlined } from '@ant-design/icons';
import { message, Upload, Form, Input, Button } from 'antd';

const { Dragger } = Upload;

const App = () => {
  const [form] = Form.useForm();
  const [filePath, setFilePath] = useState('');
  const [fileName, setFileName] = useState('');

  const compress = async (values) => {
    console.log(values);
    console.log(filePath);
  };

  const props = {
    name: 'file',
    action: 'http://localhost:3005/upload',
    onChange(info) {
      const { status } = info.file;
      if (status === 'done') {
        setFilePath(info.file.response);
        setFileName(info.file.name);
        message.success(`${info.file.name} 文件上传成功`);
      } else if (status === 'error') {
        message.error(`${info.file.name} 文件上传失败`);
      }
    }
  };

  return <div>
    <Form style={{width: 500, margin: '50px auto'}}form={form} onFinish={compress}>
      <Form.Item
        label="颜色数量"
        name="color"
      >
        <Input />
      </Form.Item>

      <Form.Item
        label="压缩级别"
        name="level"
      >
        <Input/>
      </Form.Item>

      <Form.Item>
        <Dragger {...props}>
          <p className="ant-upload-drag-icon">
            <InboxOutlined />
          </p>
          <p className="ant-upload-text">点击或拖拽文件到这个区域来上传</p>
        </Dragger>
      </Form.Item>

      <Form.Item>
        <Button type="primary" htmlType="submit">压缩</Button>
      </Form.Item>
    </Form>
  </div>
}

export default App;
用 filePath 的 state 来保存上传后的文件路径,用 fileName 保存文件名。
在点击登录的时候打印下表单的值和 filePath。
我们试试看:
3 个参数都拿到了,然后调用下压缩接口。
安装 axios:
npm install --save axios
修改下 compress 方法:
const compress = async (values) => {
    const res = await axios.get('http://localhost:3005/compression', {
      params: {
        color: values.color || 256,
        level: values.level || 9,
        path: filePath
      },
      responseType: 'arraybuffer'
    });

    const blob = new Blob([res.data], { type: 'image/jpeg' });
    const url = URL.createObjectURL(blob);
    const link = document.createElement('a');
    link.href = url;
    link.download = fileName;
    link.click();

    message.success('压缩成功');
};
访问 comporession 接口,传入参数,指定返回数据的类型为 arraybuffer。
然后用 URL.createObjectURL 创建 blob 的 url,设置为 a 标签的 src,指定 download 属性的值也就是文件名,然后触发点击。
这样,就能把返回的 arraybuffer 作为文件下载了。
我们试试看:

整个流程都跑通了!
我们试下刚开始那个 21M 的文件:
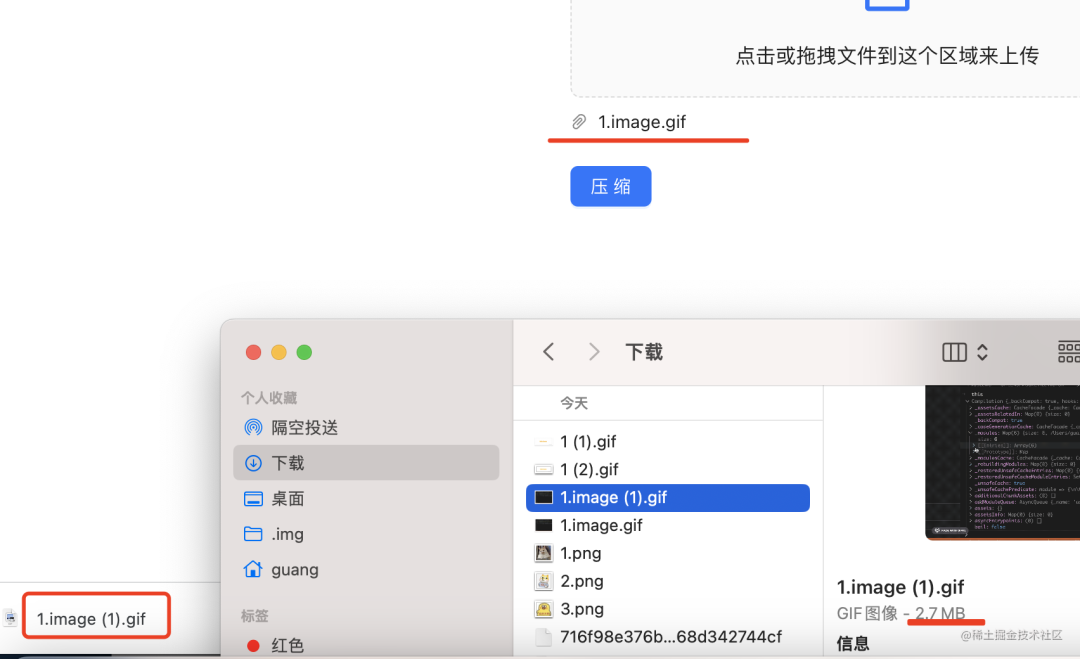
压缩之后下载的是 2.7M。
和用这个网站压缩的差不多:

更重要的是不用每年 138 的会员费,还可以自己修改参数。
案例代码在 github:
前端代码:https://github.com/QuarkGluonPlasma/nestjs-course-code/tree/main/gif-compression-frontend
后端代码:https://github.com/QuarkGluonPlasma/nestjs-course-code/tree/main/gif-compression-backend
总结
压缩 gif 图片是我的刚需,之前都是买某网站的 138 的年度会员,直到我发现了 sharp 这个包。
它是用来处理各种图片的,调整大小、旋转等等,我们只用它的 gif 压缩的功能。
指定颜色数量、压缩级别,就可以对 gif 做大幅度的压缩, 21M 到 2.7M 这种。
然后我们也做了一个网站,前端 react + antd,后端 nest + sharp。
后端提供一个 /upload 接口用于上传文件,返回文件路径。
又提供了一个 /compression 接口用来压缩 gif,返回压缩后的文件。
整个流程如下:

其实最好再做一步: 把这个应用通过 dockerfile 来 build 成 docker 镜像,随时用,随时跑。
再需要压缩图片的时候,不用花钱买会员了,直接用自己的压缩工具就好了。