【python自动化】Playwright基础教程(十)元素拖拽&元素坐标&爬虫必备:获取网页源码&元素内文本
【python自动化】Playwright基础教程(十)元素拖拽&元素坐标&爬虫必备:获取网页源码&元素内文本

梦无矶小仔
发布于 2023-10-05 14:53:52
发布于 2023-10-05 14:53:52
前文代码
「直接定位指定浏览器」
class Demo05:
    def __init__(self):
        """
        使用playwright连接谷歌浏览器
        :return:
        """
        self.playwright = sync_playwright().start()
        # 连接已经打开的浏览器,找好端口
        browser = self.playwright.chromium.connect_over_cdp("http://127.0.0.1:9223")
        self.default_context = browser.contexts[0]
        self.page = self.default_context.pages[0]
「启动新的浏览器」
class Demo06:
    def __init__(self, url):
        playwright = sync_playwright().start()
        browser = playwright.chromium.launch(headless=False)
        context = browser.new_context()
        self.page = context.new_page()
        self.page.goto(url)


if __name__ == '__main__':
    mwj = Demo05(url="指定的url")
    mwj.Locator_testid()
元素拖拽drag-and-drop
官方文档:https://playwright.dev/python/docs/api/class-page#page-drag-and-drop
此方法将指定元素拖拽到目标元素,它将首先移动到源元素,执行mousedown,再移动到目标元素执行mouseup
「使用方法」
page.drag_and_drop("#source", "#target")
# 或者指定相对于元素左上角的精确位置:
page.drag_and_drop(
  "#source",
  "#target",
  source_position={"x": 34, "y": 7},
  target_position={"x": 10, "y": 20}
)
测试网址:https://www.w3school.com.cn/html/html5_draganddrop.asp
我这里自己写了一个HTML进行测试。命名为draganddrop.html
<!DOCTYPE html>
<html lang="en">
<head>
    <meta charset="UTF-8">
    <title>Drag and Drop</title>
    <style>
        #dragElement {
            width: 100px;
            height: 100px;
            background-color: red;
            position: absolute;
            top: 0;
            left: 0;
            cursor: move;
        }

        #dropElement {
            width: 200px;
            height: 200px;
            background-color: green;
            margin: auto;
        }
    </style>
</head>
<body>
<div id="bigdiv">
    <div id="dragElement"></div>
    <div id="dropElement"></div>
    <div><span>大家好,这里是梦无矶的测试开发之路playwright教程</span></div>
    <div id="mytext"><span>这个页面是用来测试拖拽,读取元素坐标,网页文本的</span></div>
</div>

<script>
    const dragElement = document.getElementById('dragElement');
    let isDragging = false;
    let startOffset = {x: 0, y: 0};

    function startDrag(e) {
        isDragging = true;
        startOffset.x = e.clientX - dragElement.offsetLeft;
        startOffset.y = e.clientY - dragElement.offsetTop;
    }

    function endDrag() {
        isDragging = false;
    }

    function drag(e) {
        if (!isDragging) return;
        dragElement.style.left = e.clientX - startOffset.x + 'px';
        dragElement.style.top = e.clientY - startOffset.y + 'px';
    }

    dragElement.addEventListener('mousedown', startDrag);
    document.addEventListener('mouseup', endDrag);
    document.addEventListener('mousemove', drag);
</script>
</body>
</html>
「页面展示」
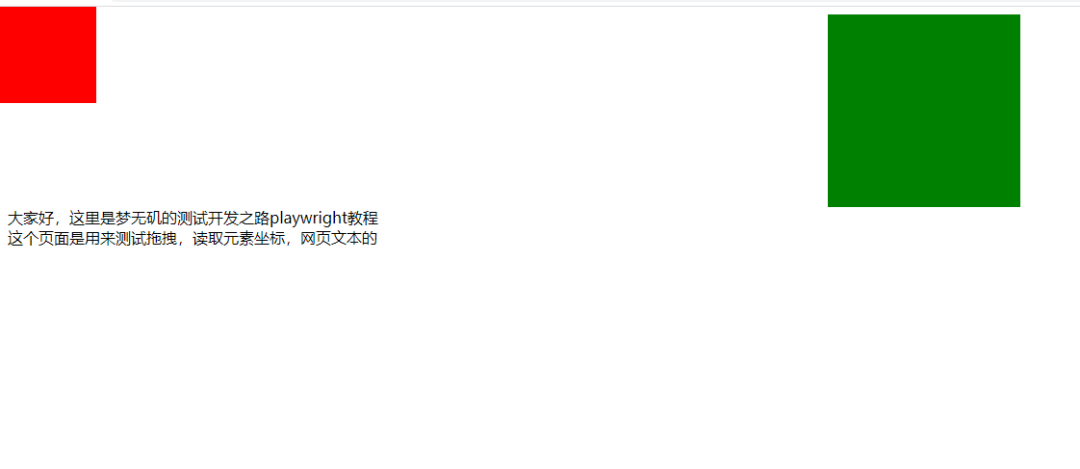
「拖拽代码」
把红色的框拖拽到绿色的框里面。
from playwright.sync_api import sync_playwright
url = r"file:///D:/L_Learning/MyLearningCode/learn_playwright/playwright_demo/draganddrop"
class Demo06:
    def __init__(self, url):
        playwright = sync_playwright().start()
        browser = playwright.chromium.launch(headless=False)
        context = browser.new_context()
        self.page = context.new_page()
        self.page.goto(url)

    def drag_and_drop_operate(self):
        self.page.drag_and_drop(source="#dragElement", target="#dropElement")
drag_and_drop()方法中的source和target参数可以是元素的选择器字符串,也可以是使用Playwright中的定位器(Locator)对象。- 在执行拖拽之前,请确保要拖动的元素和目标元素都已经加载完成。
元素坐标bounding_box
官方文档:https://playwright.dev/python/docs/api/class-locator#locator-bounding-box
「使用方法」
def bouding_box_operate(self):
    bounding = self.page.locator("#dragElement").bounding_box()
    print(bounding)  # {'x': 0, 'y': 0, 'width': 100, 'height': 100}
这里我们使用的还是前面拖拽使用的网页代码。
可以看到,他的返回值是有四个,xy的值表示该元素左上角的坐标,width和height分别表示这个元素的宽高。
定位该元素的中心点可以通过如下方式计算获得。
x,y = box["x"] + box["width"] / 2, box["y"] + box["height"] / 2
获取网页源码
playwright获取网页源代码和selenium获取源代码的方式类似。
# selenium获取网页源码
page_source = self.driver.page_source
# playwright获取网页源码
page_source = self.page.content()
使用这个方法,如果接触过爬虫的同学应该就知道了,网页上的所有信息都可以拿出来,使用正则进行提取相关数据。
获取元素内文本
比如在一些表格,样式比较规范,内容比较统一的页面,我们需要把文本进行输出或存储,可以直接使用playwright提取相关元素下面的文本。
playwright提供了挺多方法进行提取文本的,常用的有如下这些。
「使用方法」
locator.all_inner_texts()
locator.all_text_contents()
locator.inner_text()
locator.text_content()
locator.inner_html()
「使用前文的html进行测试」
def element_text(self):
    mytext1 = self.page.locator("#bigdiv").all_inner_texts()
    mytext2= self.page.locator("#bigdiv").all_text_contents()
    mytext3 = self.page.locator("#bigdiv").inner_text()
    mytext4 = self.page.locator("#bigdiv").text_content()
    mytext5 = self.page.locator("#bigdiv").inner_html()
「区别」
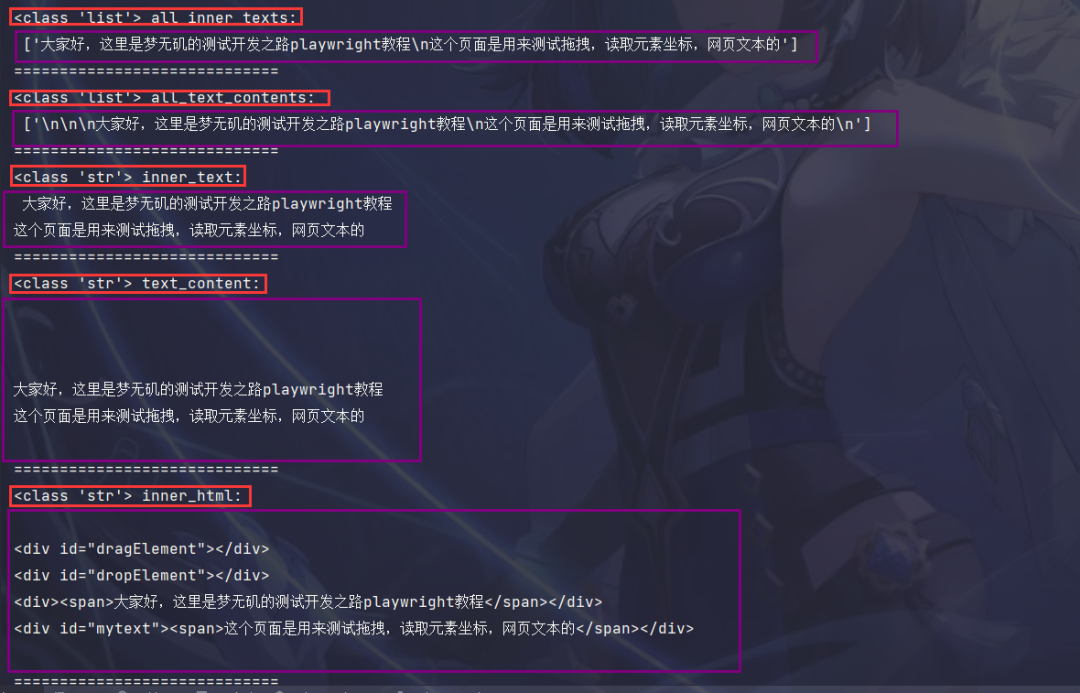
locator.all_inner_texts():返回值为列表,返回匹配定位器的所有元素的内部文本内容,并可以包含子元素的文本内容。返回的是包含所有元素内部文本的数组。locator.all_text_contents():返回值为列表,返回匹配定位器的所有元素的全文本内容,包括所有子元素的文本内容。返回的是包含所有元素全文本内容的数组。locator.inner_text():返回值为字符串,返回匹配定位器的第一个元素的内部文本内容,并可以包含子元素的文本内容。locator.text_content():返回值为字符串,返回匹配定位器的第一个元素及其所有子元素的全文本内容。locator.inner_html():返回值为字符串,返回匹配定位器的第一个元素的内部HTML代码,包括所有子元素。
「效果展示」
「完整代码」
def element_text(self):
    mytext1 = self.page.locator("#bigdiv").all_inner_texts()
    print(type(mytext1), "all_inner_texts:\n", mytext1)
    print("=============================")
    mytext2 = self.page.locator("#bigdiv").all_text_contents()
    print(type(mytext2), "all_text_contents:\n", mytext2)
    print("=============================")
    mytext3 = self.page.locator("#bigdiv").inner_text()
    print(type(mytext3), "inner_text:\n", mytext3)
    print("=============================")
    mytext4 = self.page.locator("#bigdiv").text_content()
    print(type(mytext4), "text_content:\n", mytext4)
    print("=============================")
    mytext5 = self.page.locator("#bigdiv").inner_html()
    print(type(mytext5), "inner_html:\n", mytext5)
    print("=============================")
playwright不想写了,累了!
本文参与?腾讯云自媒体分享计划,分享自微信公众号。
原始发表:2023-10-05 08:02,如有侵权请联系?cloudcommunity@tencent.com 删除
评论
登录后参与评论
推荐阅读
目录