OpenAPI(Swagger)
本章仅适用于TypeScript
该OpenAPI的规范是一个功能强大的高清格式来描述RESTful API中。Nest提供了一个专用模块来使用它。
安装
首先,您必须安装模块:
$ npm install --save @nestjs/swagger引导
安装过程完成后,打开引导程序文件(主要是main.ts)并使用SwaggerModule类初始化Swagger :
import { NestFactory } from '@nestjs/core';
import { SwaggerModule, DocumentBuilder } from '@nestjs/swagger';
import { ApplicationModule } from './app.module';

async function bootstrap() {
  const app = await NestFactory.create(ApplicationModule);

  const options = new DocumentBuilder()
    .setTitle('Cats example')
    .setDescription('The cats API description')
    .setVersion('1.0')
    .addTag('cats')
    .build();
  const document = SwaggerModule.createDocument(app, options);
  SwaggerModule.setup('api', app, document);

  await app.listen(3001);
}
bootstrap();这DocumentBuilder是一个帮助程序类,有助于构建一个基本文档SwaggerModule。它包含几个允许设置标题,描述,版本等属性的方法。
为了创建一个完整的文档(使用已定义的HTTP路由),我们使用该类的createDocument()方法SwaggerModule。此方法分别使用两个参数,即应用程序实例和基本Swagger选项。
最后一步是调用setup()。它接受顺序(1)路径来安装Swagger,(2)应用程序实例,以及(3)描述Nest应用程序的文档。
现在,您可以运行以下命令来启动HTTP服务器:
$ npm run start应用程序运行时,打开浏览器并导航到http://localhost:3000/api。你应该看到类似的页面:
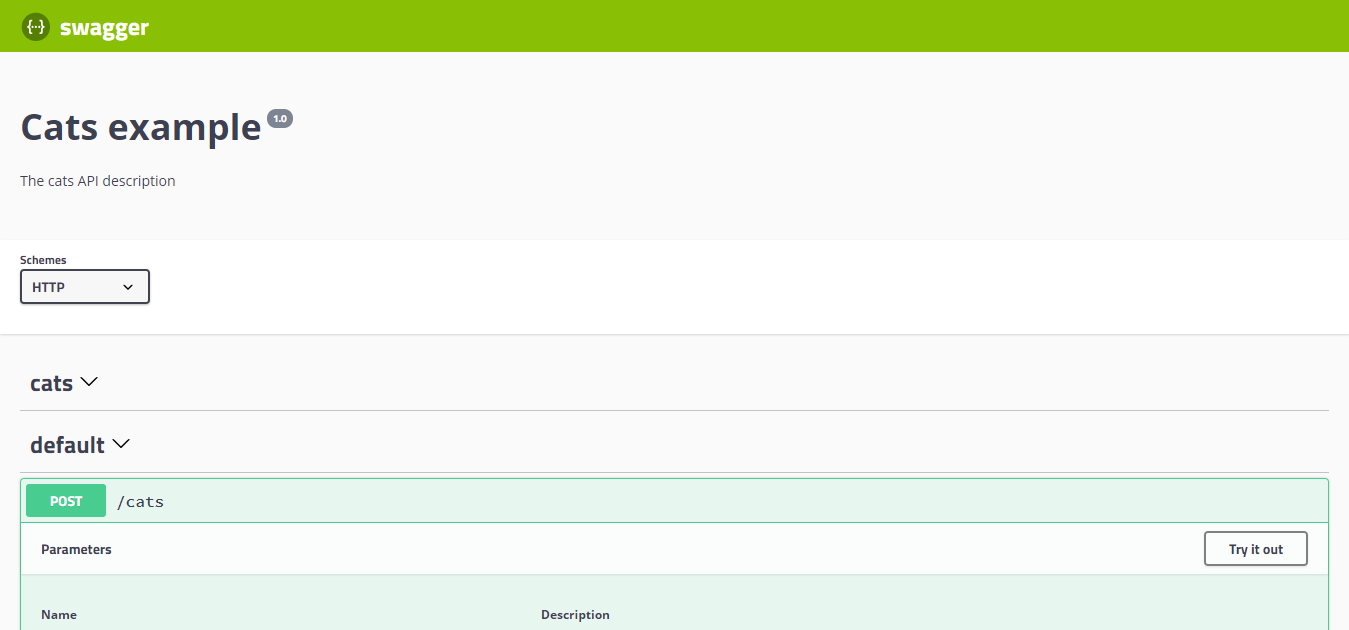
该SwaggerModule自动反映您的所有端点。在后台,它正在利用swagger-ui-express并创建一个实时文档。
正文,查询,路径参数
在定义控制器的检查,SwaggerModule寻找所有的使用@Body(),@Query()以及@Param()在路由处理器装饰。多亏了他们,可以创建有效的文档。
此外,该模块通过利用反射创建模型定义。看一下下面的代码:
@Post()
async create(@Body() createCatDto: CreateCatDto) {
  this.catsService.create(createCatDto);
}注意要隐式设置主体定义,可以使用
@ApiImplicitBody()装饰器(@nestjs/swagger包)。
基于此CreateCatDto,将创建模块定义:

如您所见,虽然该类具有很少的声明属性,但该定义为空。为了使类属性可访问SwaggerModule,我们必须使用@ApiModelProperty()装饰器标记所有类:
import { ApiModelProperty } from '@nestjs/swagger';

export class CreateCatDto {
  @ApiModelProperty()
  readonly name: string;

  @ApiModelProperty()
  readonly age: number;

  @ApiModelProperty()
  readonly breed: string;
}让我们打开浏览器并验证生成的CreateCatDto模型:

该@ApiModelProperty()装饰接受选项对象:
export declare const ApiModelProperty: (metadata?: {
  description?: string;
  required?: boolean;
  type?: any;
  isArray?: boolean;
  collectionFormat?: string;
  default?: any;
  enum?: SwaggerEnumType;
  format?: string;
  multipleOf?: number;
  maximum?: number;
  exclusiveMaximum?: number;
  minimum?: number;
  exclusiveMinimum?: number;
  maxLength?: number;
  minLength?: number;
  pattern?: string;
  maxItems?: number;
  minItems?: number;
  uniqueItems?: boolean;
  maxProperties?: number;
  minProperties?: number;
  readOnly?: boolean;
  xml?: any;
  example?: any;
}) => PropertyDecorator;提示有一个
@ApiModelPropertyOptional()快捷方式装饰器,有助于避免连续输入@ApiModelProperty({ required: false })。
多亏了我们可以简单地设置默认值,确定属性是必需的还是显式设置类型。
多种规格
Swagger模块还提供了一种支持多种规范的方法。换句话说,您可以SwaggerUI在不同的端点上为不同的文档提供不同的文档。
为了SwaggerModule支持多规范,您的应用程序必须使用模块化方法编写。该createDocument()方法接受第三个参数:extraOptions这是一个属性include需要一组模块的对象。
您可以设置多个规范支持,如下所示:
import { NestFactory } from '@nestjs/core';
import { SwaggerModule, DocumentBuilder } from '@nestjs/swagger';
import { ApplicationModule } from './app.module';

// imports CatsModule and DogsModule;

async function bootstrap() {
  const app = await NestFactory.create(ApplicationModule);

  /**
   * createDocument(application, configurationOptions, extraOptions);
   *
   * createDocument method takes in an optional 3rd argument "extraOptions"
   * which is an object with "include" property where you can pass an Array
   * of Modules that you want to include in that Swagger Specification
   * E.g: CatsModule and DogsModule will have two separate Swagger Specifications which
   * will be exposed on two different SwaggerUI with two different endpoints.
   */

  const options = new DocumentBuilder()
    .setTitle('Cats example')
    .setDescription('The cats API description')
    .setVersion('1.0')
    .addTag('cats')
    .build();
  const catDocument = SwaggerModule.createDocument(app, options, { include: [CatsModule] });
  SwaggerModule.setup('api/cats', app, catDocument);

  const secondOptions = new DocumentBuilder()
    .setTitle('Dogs example')
    .setDescription('The dogs API description')
    .setVersion('1.0')
    .addTag('dogs')
    .build();
  const dogDocument = SwaggerModule.createDocument(app, secondOptions, { include: [DogsModule] });
  SwaggerModule.setup('api/dogs', app, dogDocument);

  await app.listen(3001);
}
bootstrap();
现在,您可以使用以下命令启动服务器:
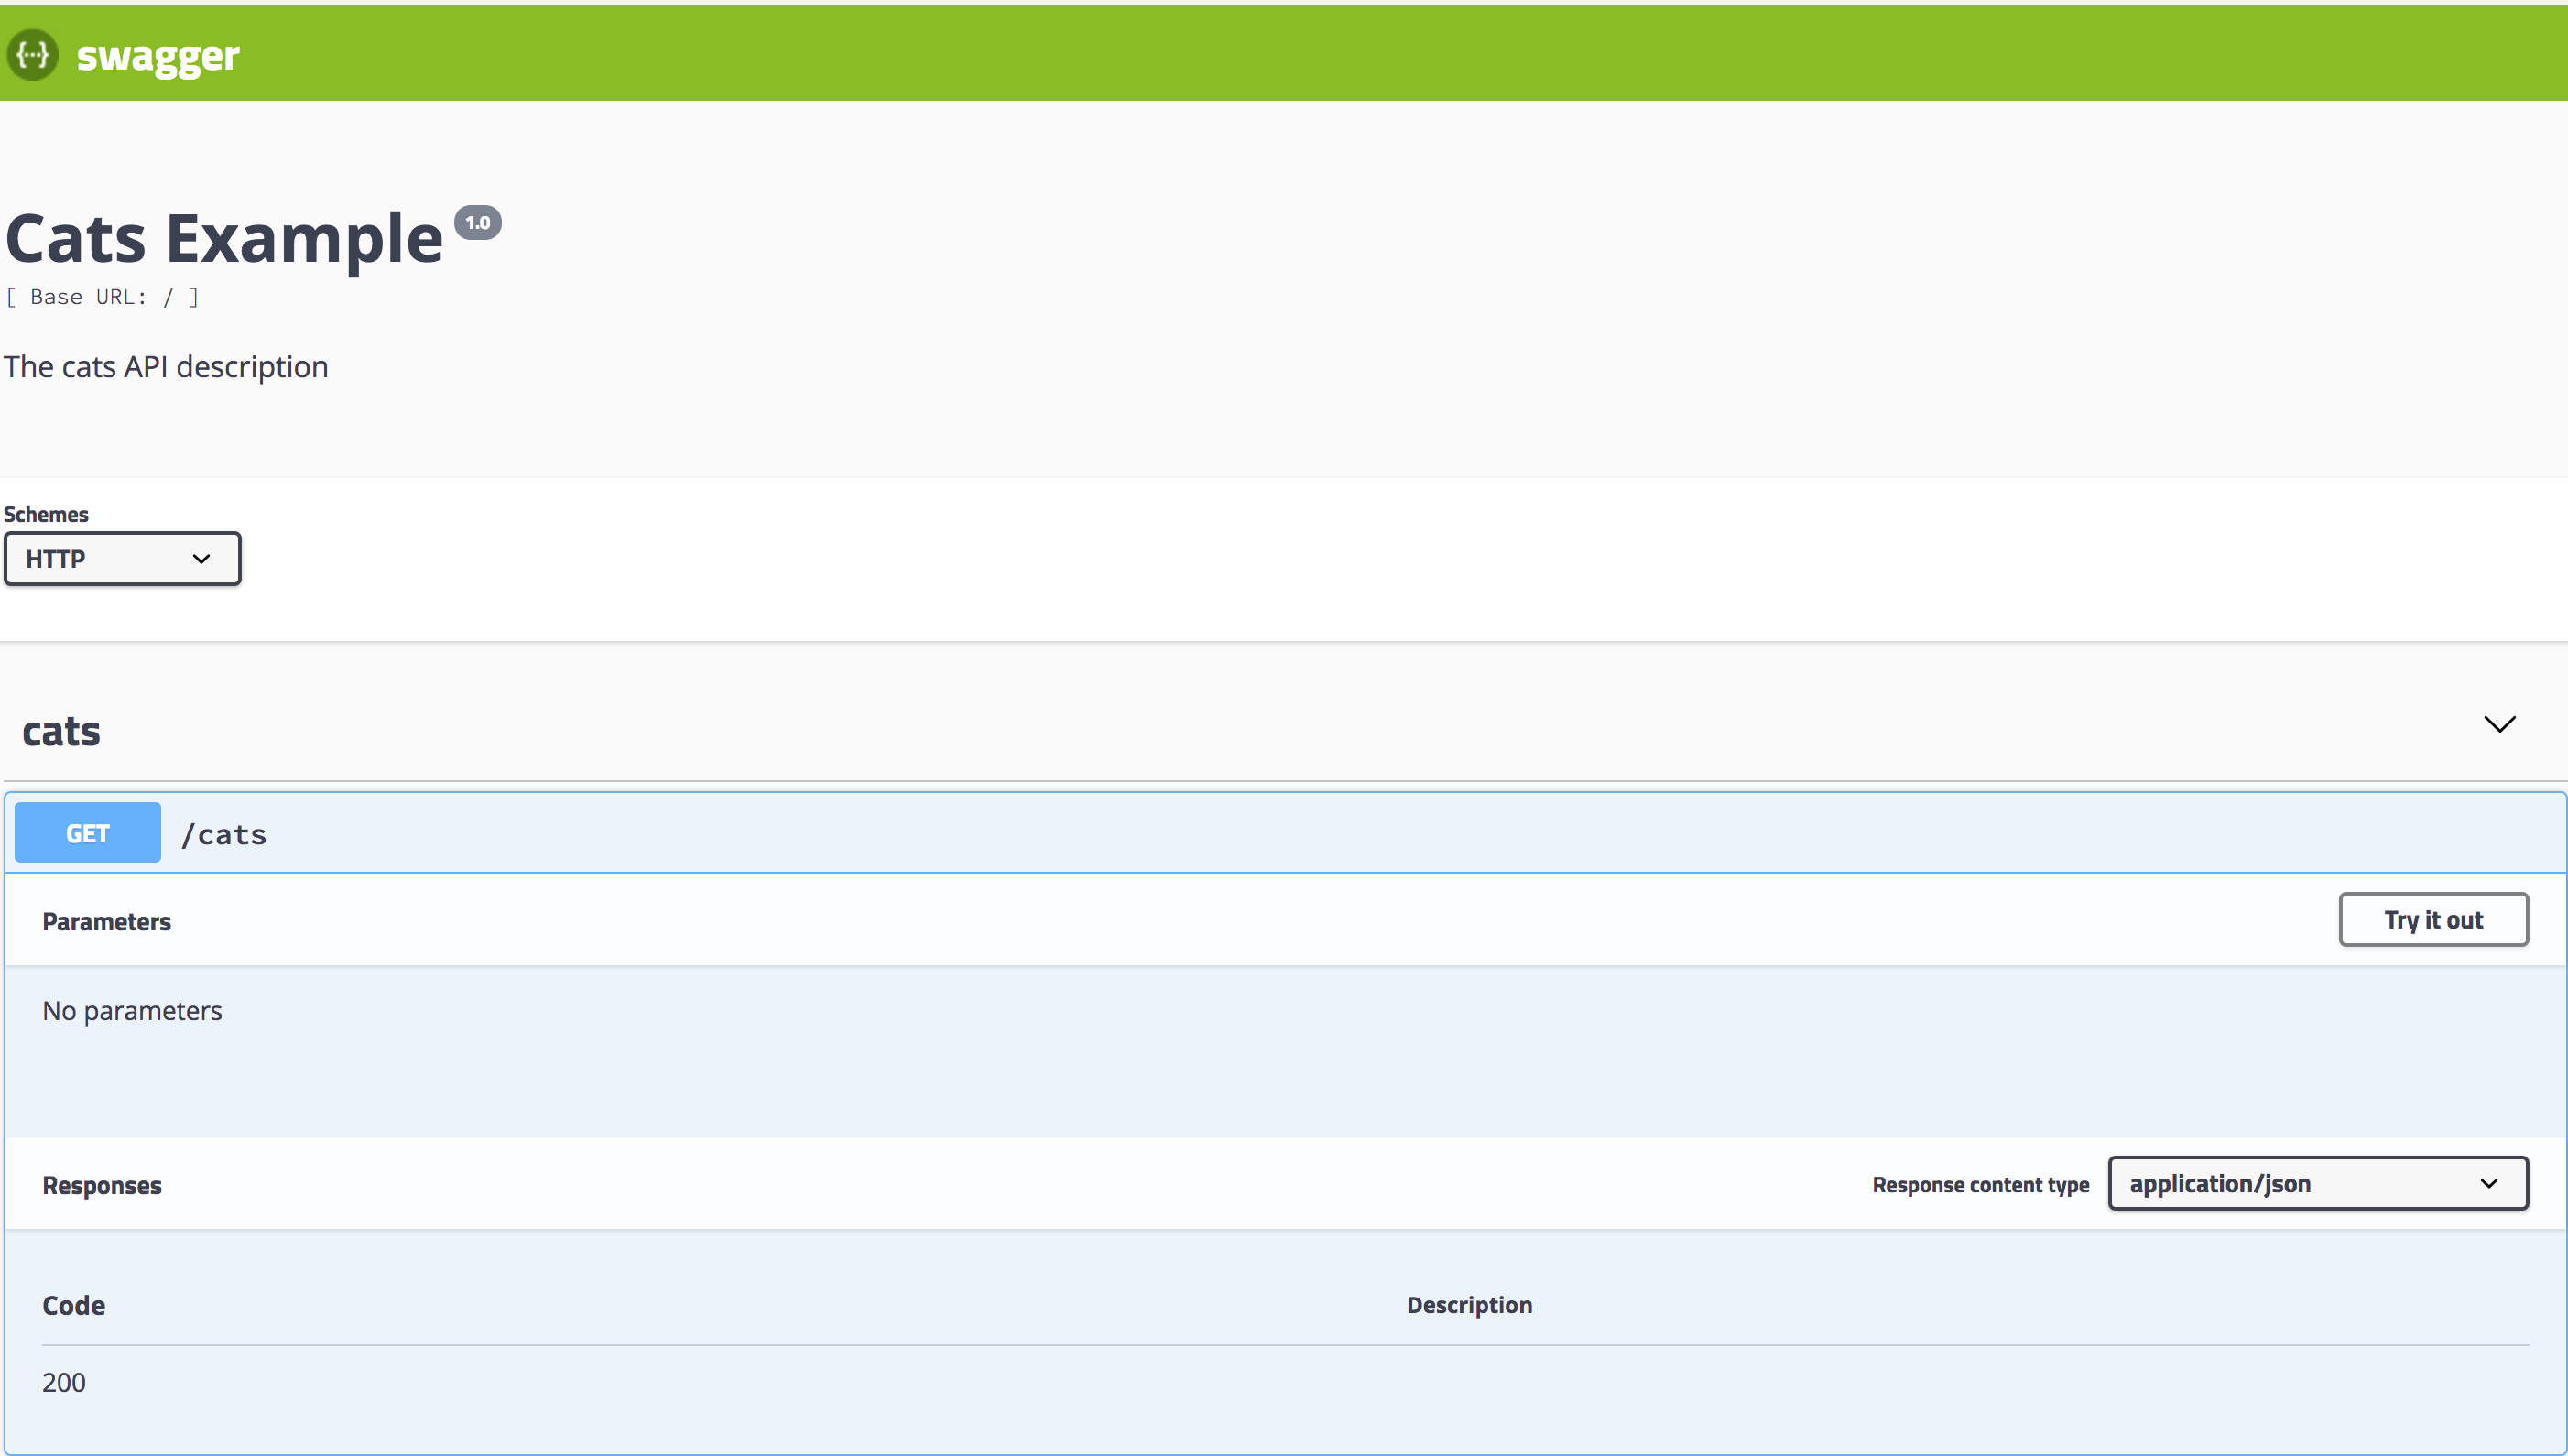
$ npm run start导航到http://localhost:3000/api/cats您的Cats查看SwaggerUI:
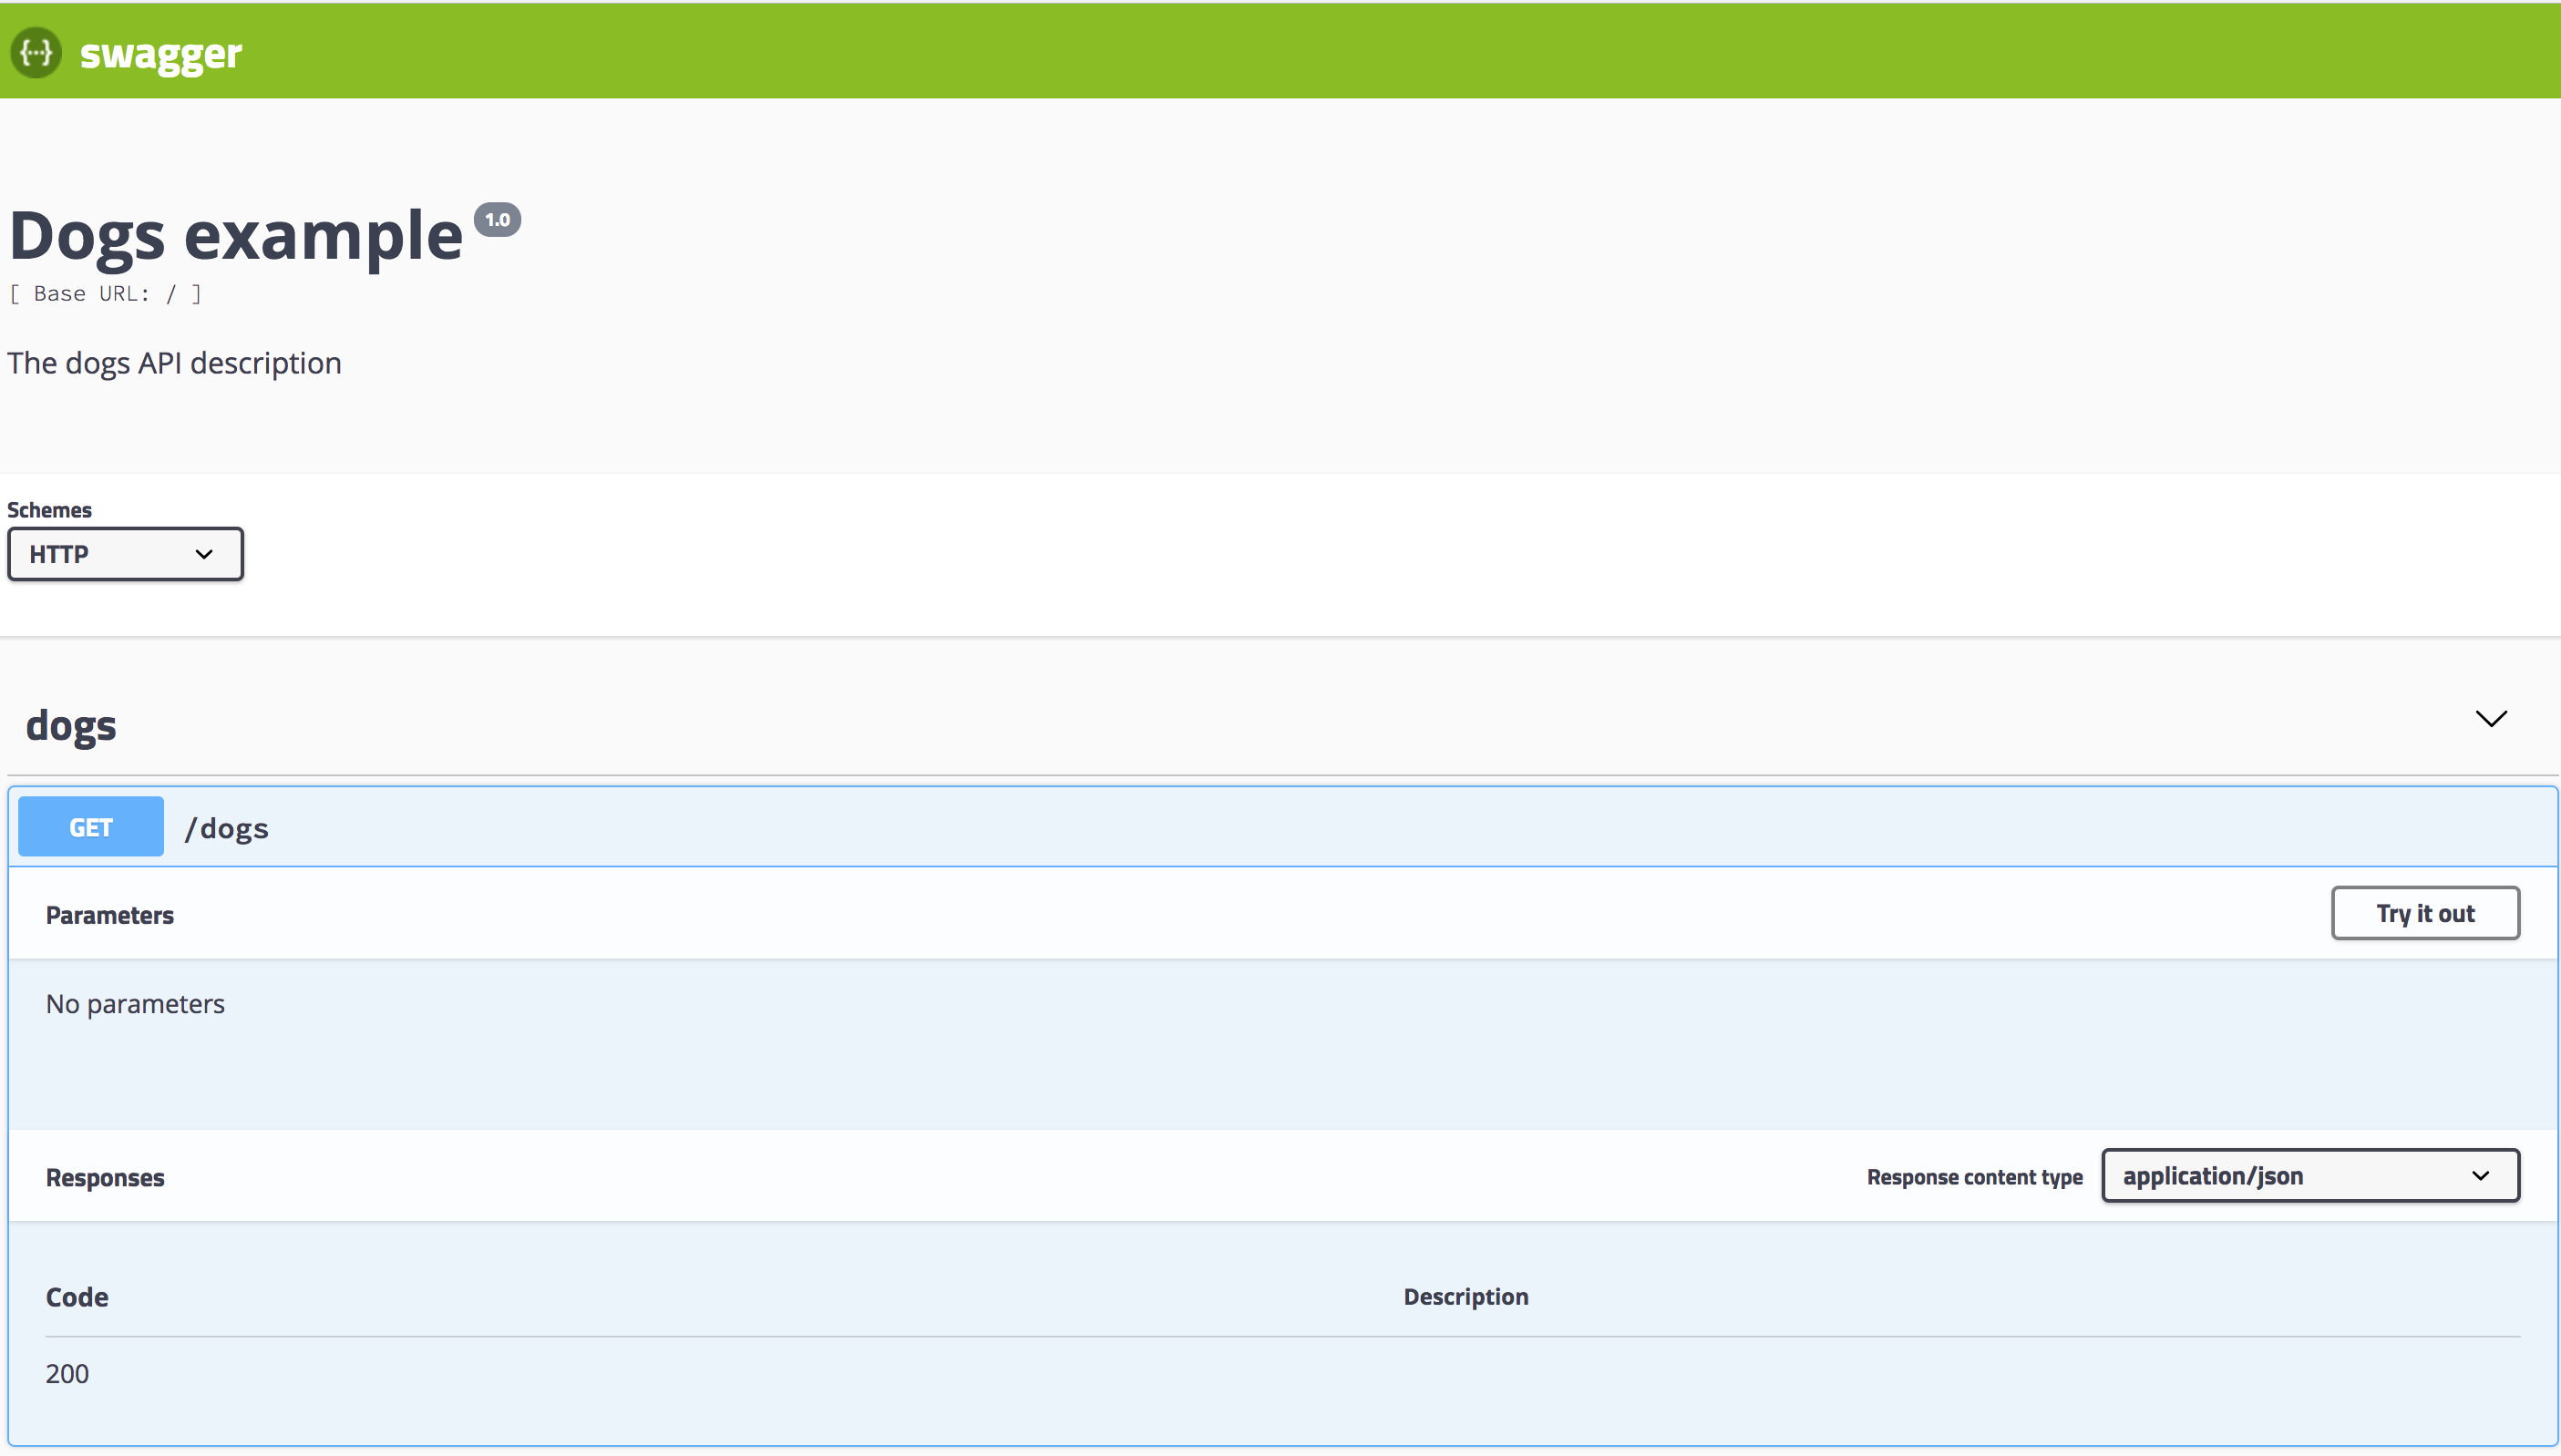
虽然http://localhost:3000/api/docs会为你的狗暴露一个SwaggerUI:
请注意,您必须构建一个SwaggerOptions与
DocumentBuilder运行createDocument()对新建options然后立即“伺候”它setup(),然后才能开始在第二个工作SwaggerOptions为第二扬鞭规范。此特定顺序是为了防止Swagger配置被不同选项覆盖。
使用枚举
为了能够SwaggerModule识别Enum,我们必须使用值数组手动设置enum属性@ApiModelProperty。
@ApiModelProperty({ enum: ['Admin', 'Moderator', 'User']})
role: UserRole;
UserRole 枚举可以定义为以下代码段:
export enum UserRole {
  Admin = 'Admin',
  Moderator = 'Moderator',
  User = 'User'
}注意上述用法只能作为模型定义的一部分应用于属性。
枚举可以单独使用@Query()参数装饰器与@ApiImplicitQuery()装饰器结合使用。
@ApiImplicitQuery({ name: 'role', enum: ['Admin', 'Moderator', 'User'] })
async filterByRole(@Query('role') role: UserRole = UserRole.User) {
  // role returns: UserRole.Admin, UserRole.Moderator OR UserRole.User
}
提示
enum和isArray也可以组合中可以使用@ApiImplicitQuery()
随着isArray设置为真,则enum现在可以选择作为一个多选:

使用数组
当属性实际上是一个数组时,我们必须手动指示一个类型:
@ApiModelProperty({ type: [String] })
readonly names: string[];只需将您的类型作为数组的第一个元素(如上所示)或将isArray属性设置为true。
标签
一开始,我们创建了一个cats标签(通过利用DocumentBuilder)。为了将控制器附加到指定的标签,我们需要使用@ApiUseTags(...tags)装饰器。
@ApiUseTags('cats')
@Controller('cats')
export class CatsController {}
回应
要定义自定义HTTP响应,我们使用@ApiResponse()装饰器。
@Post()
@ApiResponse({ status: 201, description: 'The record has been successfully created.'})
@ApiResponse({ status: 403, description: 'Forbidden.'})
async create(@Body() createCatDto: CreateCatDto) {
  this.catsService.create(createCatDto);
}与异常过滤器部分中定义的常见HTTP异常相同,Nest还提供了一组从核心装饰器继承的可用API响应@ApiResponse:
@ApiOkResponse()@ApiCreatedResponse()@ApiBadRequestResponse()@ApiUnauthorizedResponse()@ApiNotFoundResponse()@ApiForbiddenResponse()@ApiMethodNotAllowedResponse()@ApiNotAcceptableResponse()@ApiRequestTimeoutResponse()@ApiConflictResponse()@ApiGoneResponse()@ApiPayloadTooLargeResponse()@ApiUnsupportedMediaTypeResponse()@ApiUnprocessableEntityResponse()@ApiInternalServerErrorResponse()@ApiNotImplementedResponse()@ApiBadGatewayResponse()@ApiServiceUnavailableResponse()@ApiGatewayTimeoutResponse()
除了现有的HTTP例外,鸟巢提供速记装饰为:HttpStatus.OK,HttpStatus.CREATED和HttpStatus.METHOD_NOT_ALLOWED
@Post()
@ApiCreatedResponse({ description: 'The record has been successfully created.'})
@ApiForbiddenResponse({ description: 'Forbidden.'})
async create(@Body() createCatDto: CreateCatDto) {
  this.catsService.create(createCatDto);
}
认证
您可以使用类的addBearerAuth()方法启用承载授权DocumentBuilder。然后限制所选路线或整个控制器,使用@ApiBearerAuth()装饰器。
@ApiUseTags('cats')
@ApiBearerAuth()
@Controller('cats')
export class CatsController {}
这就是OpenAPI文档现在的样子:

上传文件
您可以使用@ApiImplicitFile装饰器为特定方法启用文件上载@ApiConsumes()。以下是使用文件上传技术的完整示例:
@UseInterceptors(FileInterceptor('file'))
@ApiConsumes('multipart/form-data')
@ApiImplicitFile({ name: 'file', required: true, description: 'List of cats' })
uploadFile(@UploadedFile() file) {}
装饰
所有可用的OpenAPI装饰器都有一个Api前缀,可以清楚地区分核心装饰器。下面是具有已定义使用级别的导出装饰器的完整列表(可能应用的位置)。
@ApiOperation() | 方法 |
|---|---|
@ApiResponse() | 方法/控制器 |
@ApiProduces() | 方法/控制器 |
@ApiConsumes() | 方法/控制器 |
@ApiBearerAuth() | 方法/控制器 |
@ApiOAuth2Auth() | 方法/控制器 |
@ApiImplicitBody() | 方法 |
@ApiImplicitParam() | 方法 |
@ApiImplicitQuery() | 方法 |
@ApiImplicitHeader() | 方法 |
@ApiImplicitFile() | 方法 |
@ApiExcludeEndpoint() | 方法 |
@ApiUseTags() | 方法/控制器 |
@ApiModelProperty() | 模型 |
@ApiModelPropertyOptional() | 模型 |
本文档系腾讯云开发者社区成员共同维护,如有问题请联系 cloudcommunity@tencent.com